Grout is a crucial component that can significantly impact your project's final appearance and longevity when it comes to tiling. Choosing the right type of grout is crucial not only for cosmetic reasons but also for functional ones, like guaranteeing adequate adhesion and preventing cracking.
However, choosing the right grout for your particular job might take time because so many varieties are available. Therefore, to assist you in making an informed choice and obtaining the best outcomes for your tiling project, we will examine the wide varieties of grout, their properties, and their suggested usage in this guide.
What is Grout?
 Source: Pinterest Know the grouting meaning in construction.
Filling the spaces between tiles with grout creates a solid and cohesive binding. Even though some varieties of grout may include extra components, including polymers, additives, and colourants, grout primarily comprises cement, sand, and water.
In tiling projects, grout performs various crucial tasks, including offering structural support, preventing moisture infiltration, and improving the overall aesthetic of the finished surface.
Many kinds of grout exist, including epoxy, hybrid, and sanded and unsanded grouts.
Sanded grout is often used for broader grout joints between 1/8 inch and 1/2 inch wide. Sanded grout is made up of cement, sand, and water. Sanded grout is strong and long-lasting because of the addition of sand to the formulation, which makes it perfect for high-traffic areas and bigger tiles.
On the other hand, and is not a component of unsanded grout formed only of cement and water. It is more suited for fragile tiles or materials prone to scratching, such as glass or polished marble, and is used for smaller grout joints, usually 1/8 inch or less.
Different Types of Grout
Any tile installation must include grout because it offers structural support, aesthetic appeal, and moisture resistance. There are various grout varieties on the market, each with special qualities and uses. We shall examine the various varieties of grout and their unique applications in this post.
1. Grout Made of Cement
 Source: Tile Doctor Cement grout is one of the grouting materials.
The type of grout most frequently used in tile installations is cement-based grout. It comes in two main varieties: sanded and unsanded, composed of cement, sand, and water. Sanded grout is the best option for bigger grout joints and high-traffic areas since it contains fine sand particles that provide strength and endurance.
Unsanded grout is smoother and more suited for delicate tiles and small grout joints. Grout made of cement is inexpensive, simple to use, and comes in various colours.
2. Epoxy Grout
 Source: Pinterest The various types of grout include epoxy grout.
The two components of epoxy grout—resin and hardener—offer greater durability, stain resistance, and waterproofing. It is a great option for high-moisture spaces like bathrooms and kitchens and for materials like glass or natural stone tiles that are particularly vulnerable to stains or discolouration.
Epoxy grout comes in various colours and is resistant to mould and mildew due to its non-porous composition.
3. Furan Grout
 Source: Ardex Endura Furan grout is a great option for grouting work.
The furan grout is made of a polymer resin and furfuryl alcohol. It is a great option for industrial situations because it is durable against chemicals, extreme heat, and heavy foot traffic.
In addition, Furan grout is excellent for large tile installations since it is highly resistant to cracking and shrinking. Furan grout, however, can be pricy, challenging to work with, and smelly when installed.
4. Modified Cement Grout
 Source: Pinterest Modified cement grout is another type of grout for showers.
Cement-based grout improved with a polymer component is known as modified cement grout. Because of this, it is more flexible and resistant to cracking and shrinking than conventional cement-based grouts.
In addition, both sanded and unsanded kinds of modified cement grout are readily accessible and simple to use. Modified cement grout, however, could cost more than conventional cement-based grout.
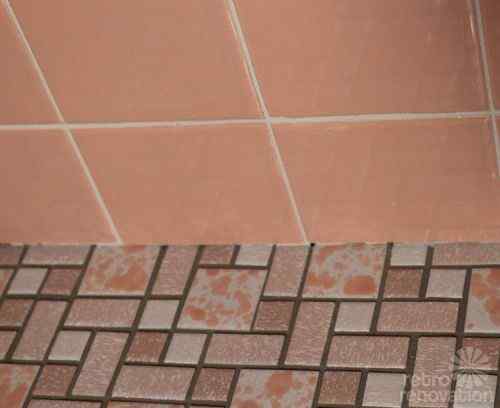
5. Ready-To-Use Grout
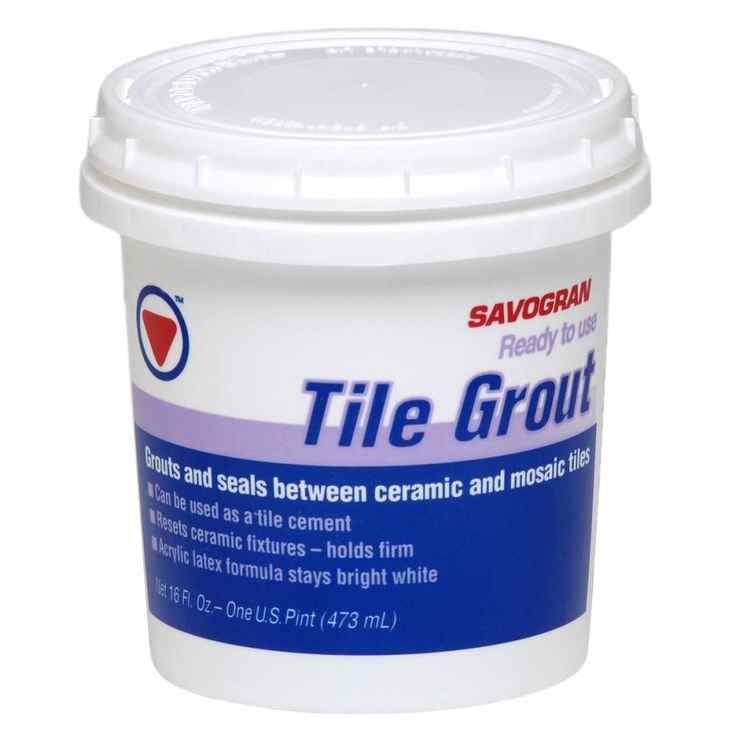 Source: Pinterest The types of tile grout include ready-to-use fruit which is super easy to use.
Traditional grout can be replaced with pre-mixed grout, which is more practical and simple. It arrives in a container ready to use and doesn't need to be mixed or added to water. For modest tile installations or touch-up work, pre-mixed grout, which comes in sanded and unsanded types, is the best choice.
On the other hand, pre-mixed grout is less resilient than other kinds of grout and might not be appropriate for high-traffic areas or bigger tile installations.
How to Choose Grout?
 Source: Pinterest Know the way of choosing the grout.
When selecting the ideal grout for your tile installation, take into account the following factors.
- Tile Dimensions and Shape
The choice of grout will depend on the size and form of the tiles, which will also affect the size of the grout joints. For instance, wider grout joints are frequently needed for larger tiles, which are more suited for sanded grout.
On the other hand, unsanded grout, which is smoother and simpler to work with, is better suited for tiny tiles and delicate materials, such as glass.
The grout you choose will depend on where your tiles are located. The grout used in bathrooms and kitchens must be waterproof and mould-resistant because these areas have a lot of moisture.
Epoxy grout is a great option for these places because of its improved durability and waterproofing. A more resilient grout, such as sanded grout, is advised for areas with heavy foot traffic.
Read On– https://www.nobroker.in/blog/how-to-clean-bathroom-tiles/
The grout's colour and appearance will impact how your tile installation looks. Finding a grout colour that complements your tiles is simple with cement-based grouts because they come in various hues.
However, selecting a grout resistant to these problems is crucial because certain grouts may fade or stain with time. Epoxy grout is preferred for high-end tile installations because of its outstanding stain resistance and colour stability.
- Requirements for Maintenance
Maintenance needs vary depending on the type of grout. For example, because cement-based grouts are relatively porous, regular sealing may be necessary to keep them from becoming stained or discoloured.
On the other hand, epoxy grout doesn't need to be sealed because it's non-porous. Therefore, it is crucial to think about and take into account the maintenance requirements when choosing a grout.
- Project Dimensions and Cost
The size of your tile installation and your budget will affect the grout you choose. The most common tile installations can be completed with conventional cement-based grouts, the least expensive alternative.
Larger projects, however, can call for more pricey grouts, including epoxy or hybrid grouts. Therefore, when creating a budget for your tile installation, it's critical to account for the cost of the grout.
Grout with Special Features
 Source: Pinterest Know the special features of all grouting material.
Here are some instances of grout with unique characteristics
1. Epoxy Grout:
A high-performance grout with excellent resistance against moisture, discolouration, and cracking is epoxy grout. It comes in various colours and is created from a two-part epoxy resin system.
Since epoxy grout is waterproof and mould and mildew resistant, it is perfect for rooms with a lot of moisture, like bathrooms and kitchens. Additionally, it is extremely strong and resilient to heavy foot traffic.
2. Hybrid Grout:
A relatively new type of grout called hybrid grout combines the advantages of epoxy and cement-based grouts. It comes in various colours and is created from a blend of cement, epoxy resin, and other components. Hybrid grout is excellent for use in heavy-traffic areas and regions with high moisture levels since it is extremely resistant to moisture and stains.
3. Grout That Resists Stains:
A cement-based grout carefully designed to resist discolouration is known as stain-resistant grout. In contrast to conventional cement-based grouts, it is often constructed from a blend of cement, polymers, and other additives that increase its stain resistance.
As a result, stain-resistant grout is the best option for surfaces prone to stains, such as kitchen countertops and backsplashes.
4. Quick-Drying Grout:
A cement-based grout type called fast-setting sets up quickly, usually in two to three hours. When time is of the essence, it is suitable for tiny tile installations or repairs. Fast-setting grout is preferred for high-traffic areas since it is less likely to crack than conventional cement-based grout.
5. Grout That Doesn't Shrink:
A type of cement-based grout called non-shrinking grout is specifically engineered to stop shrinkage during the curing process. Large tile projects are best suited for it because typical cement-based grout can shrink and crack over time. However, non-shrinking grout is ideal for places with high foot activity since it is less likely to crack.
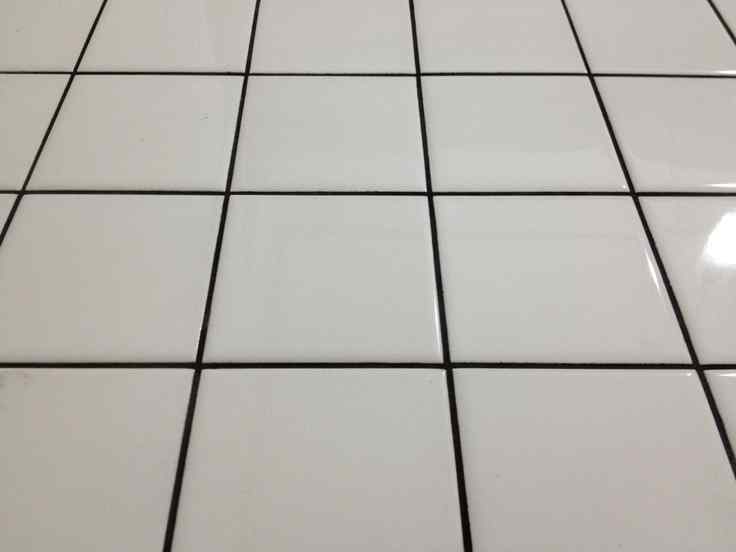
Grout Maintenance Tips
 Source: Pinterest Learn the tips to use grouting work more efficiently.
You can maintain your grout looking and working at its best by following a few grout maintenance guidelines.
1. Consistent Cleaning
Regular cleaning is one of the most crucial grout maintenance suggestions. Due to the accumulation of dirt, dust, and other particles, grout can get discoloured over time. Therefore, cleaning your grout is critical if you want to avoid this frequently.
Use a scrub brush and a light cleaning solution to remove any dirt or stains from the grout. Avoid using abrasive or aggressive cleaning agents that could harm the grout.
2. Sealing
Grout may be effectively shielded from moisture and stains by sealing it. Grout sealants create a defence barrier over the grout, obstructing the penetration of water and other liquids. As a result, grout sealing can make it easier to clean and help stop the growth of mould and mildew. Every six months to a year, grout sealing is advised.
3. Filling up Cracks
If there are grout cracks, water may sneak in and ruin your tile installation. To avoid this, it's critical to fix any grout gaps as soon as you see them. Use a grout saw or rotary tool to remove any loose grout before repairing grout fissures. Please fill the damaged area with fresh grout and smooth it using a grout float. Before sealing the grout, give it at least 24 hours to dry.
4. Steer clear of harsh chemicals
Grout can sustain damage from harsh chemicals like bleach or ammonia and eventually decay. So instead, clean your grout using a gentle cleaning mixture like vinegar and water—a specialised grout cleaner made to be kind to grout another option.
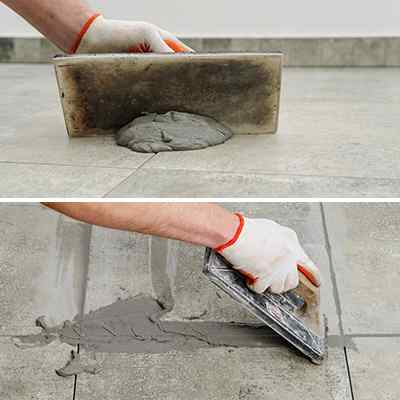
How to Grout Tiles?
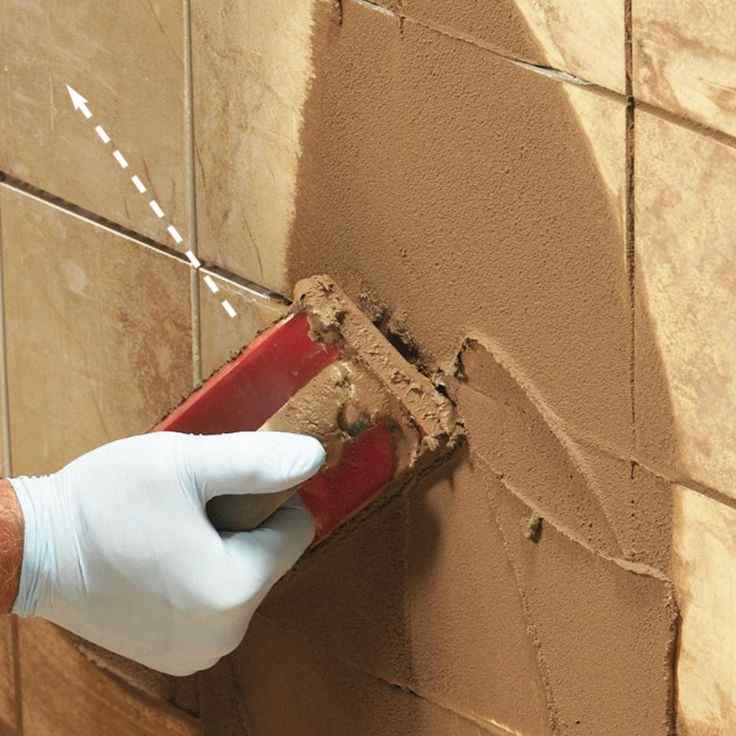 Source: Pinterest Know the method of using construction grout.
Tiles that have been grouted properly have a stable installation and look better. The steps for grouting tiles are listed below.
Before you begin, you will need the following tools and materials–
- Grout
- Grout float
- Grout sponge
- Bucket of water
- Trowel
- Mixing paddle
- Measuring cup
- Masking tape.
1. Make the Surface Ready
You must make sure the surface is clean and debris-free before grouting tiles. Use a soft-bristled brush to remove extra glue, grime, or dust from the tile surface. If you just finished installing your tiles, you should wait until the adhesive is entirely dry before continuing.
Check Out – https://www.nobroker.in/blog/home-improvement-increase-value-home/
2. Select the Proper Grout
A good tile installation depends on selecting the correct grout. The size, shape, and placement of the tile installation will all influence the type of grout you select. For instance, if you are putting tiles in a bathroom or kitchen, pick a stain- and moisture-resistant grout.
3. Combine the Mortar
It is now time to mix the grout you have chosen. Carefully read the manufacturer's directions and mix the grout at the suggested ratio. The grout should be blended with a trowel and a mixing paddle until it has a uniform texture.
4. Apply the Grout
Apply the grout to the tile's surface using a grout float. Spread the grout over the tiles while holding the float at a 45-degree angle, ensuring to fill up all the spaces between the tiles. Work in small pieces to prevent the grout from drying out before you can smooth it over.
5. Smooth the Grout
Use the edge of the grout float to smooth the grout over the tile surface after applying it, filling in any voids or low areas. To guarantee that the grout is distributed evenly, maintain a 45-degree angle on the float and use even pressure.
Use a grout sponge to remove any extra grout from the tile surface after you have smoothed the grout. The sponge should be submerged in a pail of water and wrung out until it is barely damp. Then, wipe away any extra grout using the sponge, being careful not to remove too much from the spaces between the tiles.
7. Allow the Grout to Dry
Allow the excess grout to dry for at least 24 hours after removing it. To prevent the grout from breaking or cracking, avoid walking on the tiles or getting them wet during this time.
8. Sealing the Grout
It's time to seal the grout after it has fully cured. Use a grout sealer suitable for your grout type, then apply it with a brush or roller to the grout lines. Make sure to read and adhere to the manufacturer's instructions carefully.
9. Clean the Tiles
Clean the tiles with a damp sponge or towel after the grout sealant has cured. Make sure to wipe off any extra sealant from the tile's surface.
Any tiling project benefits greatly from understanding the various types of grout and how to use them. The appropriate grout may make all the difference in the finished product, whether you are working on a kitchen backsplash, bathroom tiles or outdoor flooring.
You may choose the ideal grout by considering tile size, placement, and anticipated foot activity. NoBroker can make the process of planning a tiling project easier. You can identify and connect with reputable home service providers on the NoBroker website, including specialists in grouting and tiling.
Using NoBroker, you can quickly locate and employ a qualified contractor who can assist you in choosing and installing the best grout for your project. As a result, your tiling project can succeed, and your property can look its finest for years with the right equipment and knowledge.

FAQ's
Q1. What distinguishes grout that has been sanded from grout that has not? Ans. Sanded grout is appropriate for broader grout lines and high-traffic areas because it contains fine sand particles that increase strength and longevity. Contrarily, unsanded grout is smoother and more suited for delicate tiles and tight grout lines.
Q2. How and when should epoxy grout be used? Ans. A two-part method called epoxy grout offers outstanding toughness, stain resistance, and waterproofing. It is advised for use with tiles extremely susceptible to staining or discolouration, as well as in high-moisture locations, including bathrooms, kitchens, and outdoor installations.
Q3. Is it possible to modify the grout's colour after installation? Ans. After installation, the grout colour can be altered, yes. Without having to remove the old grout and apply fresh, specialised grout colourants may be used to modify the colour of the current grout.
Q4. How long does it take for grout to cure and dry? Ans. Although grout usually dries in between 24 and 48 hours, it can take up to a week or more to fully cure and reach its strongest state. Therefore, adhering to the manufacturer's recommendations for drying and curing durations is crucial to prevent harming the grout.
Q5. How can I keep my grout looking good and clean? Ans. Avoid using harsh chemicals or abrasive items that could harm the grout when maintaining and cleaning it. Instead, use a soft brush and a moderate, pH-neutral cleanser to remove filth and stains. Periodically sealing the grout can also aid in preventing stains and extending its life.
Most Viewed Articles
Kruthi is a Chartered Accountant has worked for various Real Estate firms across India, she is well versed with the legal and financial aspects of all real estate transactions. There are numerous documents and plenty of hidden fees that people get lost in, her goal is to shed some light on it all.
Loved what you read? Share it with others!


 ✕
✕


 Full RM + FRM support