- https://www.nytimes.com/wirecutter/guides/how-to-clean-a-showerhead/
- https://www.villeroy-boch.com.tr/r/bathroom-ideas/bathroom-cleaning/how-to-descale-a-shower-head/
- https://www.bathroommountain.co.uk/inspiration-and-advice/how-to-effectively-clean-a-shower-head/
Table of Contents
How to Clean a Shower Head: A Quick InfoPreparing to Clean Your Shower Head: A Pragmatic ApproachCleaning Methods: Elevate Your Shower ExperienceHow to Clean Shower Head Rubber Nozzles?How to Clean a Clogged Shower Head?Deep Cleaning for Stubborn BuildupPost-Cleaning Maintenance of Shower Head for Shine and FlowRegular Cleaning Schedule: Sustain a Refreshing Shower ExperienceAdditional Tips and Tricks: Elevate Your Shower Head Care RoutineCost vs Benefit: Repairing or Replacing Your Shower HeadBook Your Home Cleaning Services with NoBroker Frequently Asked Questions
Loved what you read? Share it with others!
How to Clean Shower Head for Optimal Water Flow and Hygiene in 2026
Updated : December 22, 2025, 11:31 PM
Author :
![]() Priyanka.saha
Priyanka.saha
Summary
Knowing how to clean a shower head is essential for maintaining strong water pressure and extending its lifespan. The most effective cleaning methods include vinegar soaking, baking soda scrubbing, and lemon juice cleaning. Things you’ll need include white vinegar, baking soda, lemon juice, a toothbrush, a plastic bag, and warm water. The cost typically ranges from ₹100-₹500 for household cleaners. For maintenance, it’s best to clean your shower head every 1–2 months, run hot water through it weekly, and avoid harsh chemicals that may damage the nozzles.
Table of Contents
How to Clean a Shower Head: A Quick InfoPreparing to Clean Your Shower Head: A Pragmatic ApproachCleaning Methods: Elevate Your Shower ExperienceHow to Clean Shower Head Rubber Nozzles?How to Clean a Clogged Shower Head?Deep Cleaning for Stubborn BuildupPost-Cleaning Maintenance of Shower Head for Shine and FlowRegular Cleaning Schedule: Sustain a Refreshing Shower ExperienceAdditional Tips and Tricks: Elevate Your Shower Head Care RoutineCost vs Benefit: Repairing or Replacing Your Shower HeadBook Your Home Cleaning Services with NoBroker Frequently Asked Questions
What’s the quick and easy method for deep cleaning a dirty shower head without even having to remove it? Learning how to clean a shower head at home can save you money. Simple methods, such as vinegar soaking, baking soda scrubbing, or lemon juice, can remove mineral deposits and limescale. The cost is around ₹100-₹300, since most items like vinegar, baking soda, lemon juice, a toothbrush, and a plastic bag are readily available at home. For expert cleaning, you can always rely on NoBroker's professional cleaners to clean your shower head. We use safe products and advanced techniques for your bathroom fittings. Join us in this exploration, where cleanliness meets self-care, and every shower becomes a rejuvenating ritual.
How to Clean a Shower Head: A Quick Info
Regular cleaning of shower heads prevents limescale buildup and ensures better hygiene. Below is the quick info on how to clean a shower head [1]:
| Method | Best for | Time required |
| Vinegar Soak | Dissolving mineral deposits | 1-2 hours |
| Baking soda scrub | Removing tough stains and buildup | 15-20 minutes |
| Lemon Juice | Natural deodorising | 15-30 minutes |
Preparing to Clean Your Shower Head: A Pragmatic Approach
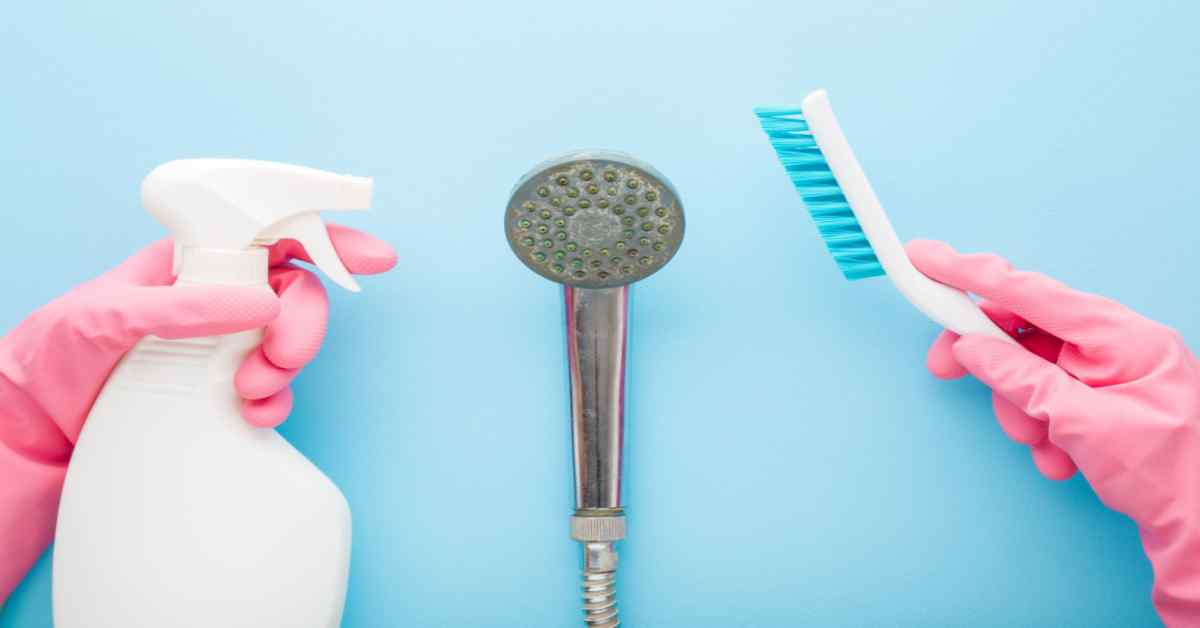
As we delve into the preparations for a thorough cleaning, let's compile a list of essential materials and some safety tips to ensure a smooth and effective process.
Materials You'll Need:
- Vinegar: A natural powerhouse, vinegar's acidity helps dissolve stubborn mineral deposits, leaving your shower head gleaming.
- Baking Soda: This versatile ingredient serves as a gentle abrasive, aiding in the removal of buildup without harming the shower head's surface.
- Toothbrush: An old toothbrush becomes your trusty companion, ideal for scrubbing away deposits and reaching intricate parts of the shower head.
- Plastic Bag: A simple yet effective tool for a no-fuss cleaning method. It helps secure the vinegar in place for an overnight soak.
- Rubber Band or Twist Ties: Essential for fastening the plastic bag securely to the shower head, ensuring a thorough and mess-free cleaning session.
- Wrench: For those instances when a deeper cleaning is required, a wrench becomes invaluable in safely detaching the shower head from the arm.
- Safety Precautions: Before you commence the cleaning process, keep these safety tips in mind:
- Ventilation: Work in a well-ventilated space to minimise exposure to fumes, especially when using cleaning agents like vinegar.
- Protective Gear: Consider using gloves to protect your hands from any cleaning solutions, particularly if you have sensitive skin.
- Surface Protection: If your shower head has a delicate finish, like chrome or stainless steel, place a soft cloth or towel around it before using tools to prevent scratches.
- Care with Chemicals: Be cautious when working with chemicals. While vinegar is a natural cleaner, avoid using harsh chemicals, and always follow recommended safety guidelines.
- Tool Use: If using tools, such as a wrench, exercise caution to avoid damage to the shower head or surrounding surfaces. Use a cloth to protect the finish.
Setting the Stage for Success:
Before you dive into the cleaning process, take a moment to inspect your shower head for any specific cleaning instructions from the manufacturer. Some finishes may require extra care, and understanding these nuances can contribute to a successful and damage-free cleaning session.
Cleaning Methods: Elevate Your Shower Experience
Let's explore three effective approaches, the Vinegar Soak Method, the Baking Soda Scrub, and Alternative Cleaning Solutions, to ensure your shower head receives the care it deserves.
The Vinegar Soak Method
1. Step-by-Step Instructions:
- Secure Bag with Vinegar: Slip a rubber band over the top of the showerhead, securing a plastic bag filled with distilled white vinegar. Ensure the bag is snug to the water pipe.
- Wait and Rinse: Allow the shower head to soak for at least one hour, or overnight for stubborn deposits. Afterwards, remove the bag and turn on the water to flush. Polish the shower head with a soft cloth.
2. Tips:
- Adjust the vinegar concentration based on the severity of the buildup. For a stronger solution, use cleaning vinegar.
- If you have a chrome or protected metal surface, limit the soaking time to prevent damage to the finish.
The Baking Soda Scrub
1. Instructions:
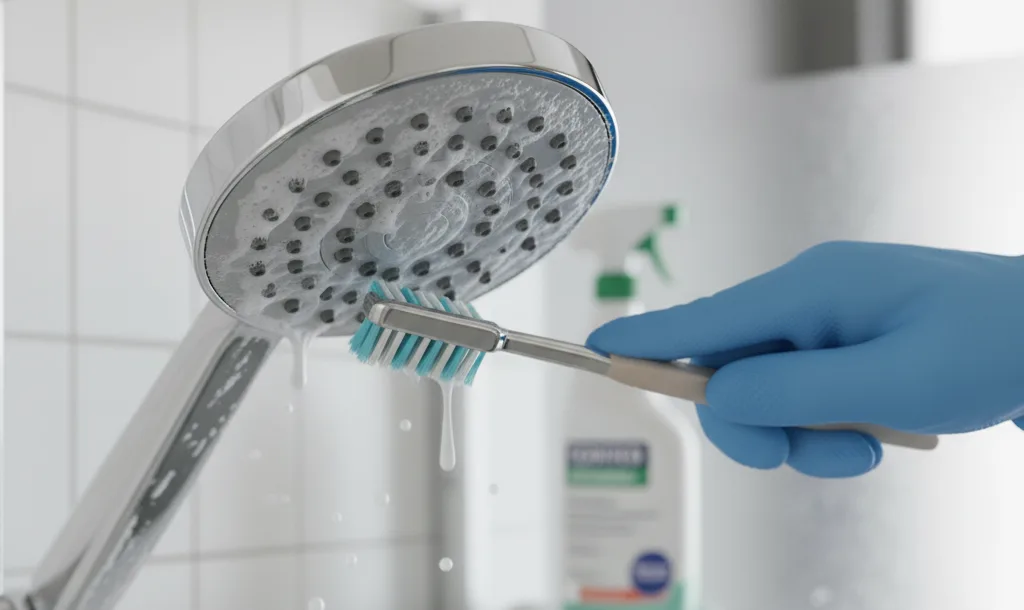
- Scour With Toothbrush and DIY Paste: Create a paste by combining baking soda with lemon juice or water. Dip a toothbrush into the paste and scrub the shower head, focusing on areas around the nozzles.
- Run Hot Water: Allow hot water to run through the shower head, both interior and exterior if possible. This aids in breaking down deposits and rinsing away residue.
- Rinse and Reassemble: Thoroughly rinse the shower head, reassemble if necessary, and reattach. Your shower head is now refreshed and ready for action.
2. Tips:
- For a more abrasive scrub, use salt in combination with baking soda.
- Disassemble the shower head for in-depth cleaning, especially if the buildup is extensive.
Alternative Cleaning Solutions
In addition to vinegar and baking soda, alternative cleaning solutions like lemon juice or commercial cleaners can also be effective.
1. When to Use:
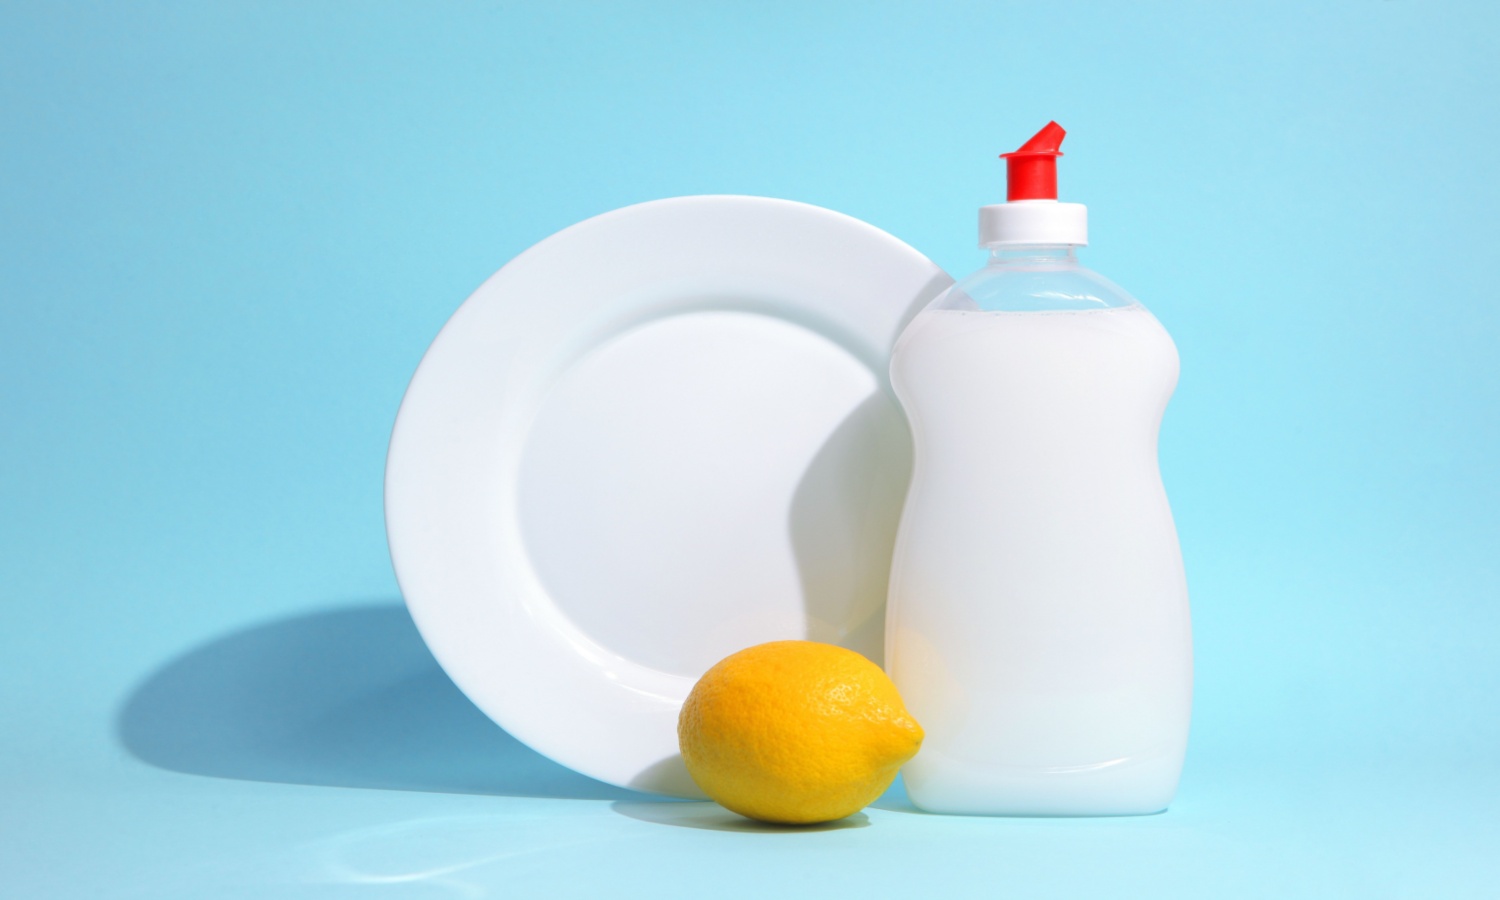
- Lemon Juice: Ideal for those who prefer a citrusy alternative. The acids in lemon juice help dissolve mineral deposits.
- Commercial Cleaners: Suitable for those seeking a convenient solution. Follow the manufacturer's instructions carefully.
2. Why Use Alternatives:
- Limescale Dissolution: Lemon juice's natural acidity aids in dissolving limescale, similar to vinegar.
- Specialised Formulas: Commercial cleaners may offer specialised formulas, making them effective for specific types of buildup.
With these cleaning methods at your disposal, you have the flexibility to choose the approach that best suits your showerhead's condition. Experiment and discover the method that brings back the brilliance to your showering oasis.
How to Clean Shower Head Rubber Nozzles?
Proper cleaning shower heads is important for maintaining water flow and preventing clogs. Below is the step-by-step procedure for cleaning the shower head rubber nozzles [2]:
- Gently rub the rubber nozzles with your fingers or a soft cloth to remove loose dirt or mineral buildup.
- For stubborn deposits, scrub the nozzles with an old toothbrush dipped in warm soapy water.
- If buildup persists, repeat the process or use a mild descaling solution.
- Clean your shower head every 1-2 months to prevent blockages and keep water flow strong.
How to Clean a Clogged Shower Head?
Over time, mineral deposits and dirt can block the nozzles, making water pressure weak and uneven. Learning how to clean a shower head properly ensures better water flow and longer life. Here is the step-by-step process on how to clean a clogged shower head [3]:
- Use a soft brush or an old toothbrush to scrub away the dirt or mineral buildup on the nozzles.
- Unscrew the shower head from the pipe.
- If not detachable, you can clean it in place using a plastic bag method.
- Then, mix equal parts white vinegar and warm water.
- Place the shower head in the solution and let it soak for 1–2 hours.
- After soaking, scrub the nozzles again with a brush to remove loosened deposits.
- Run hot water through the shower head to remove the remaining dirt.
- For stubborn blockages, gently poke each nozzle with a pin or needle to clear buildup.
- Rinse thoroughly with clean water and reattach the shower head to the pipe.
Deep Cleaning for Stubborn Buildup
When mineral deposits and stubborn buildup threaten to compromise your shower's performance, it's time to take a deeper dive into cleaning. Follow these detailed steps for disassembling and conducting a thorough deep clean, ensuring your shower head regains its optimal functionality without compromising its integrity.
1. Disconnecting the Shower Head
- Begin by turning off the water supply to the shower.
- Use a wrench to carefully unscrew the nut connecting the shower head to the arm. To protect the finish, wrap the wrench in a cloth.
- If you encounter resistance, apply gentle pressure, ensuring not damage the fixture.
2. Rinsing the Shower Head
- Hold the disconnected showerhead upside down under a faucet and allow a sharp blast of water to clear loose debris.
- The goal is to rinse out any dislodged deposits through the opening that connects to the shower arm.
3. Scrubbing and Loosening Deposits
- If mineral deposits persist, use an old toothbrush dipped in vinegar to scrub the shower head thoroughly.
- Focus on areas around the nozzles and any intricate parts where buildup may be challenging to remove.
4. Using a Toothpick or Safety Pin
- For additional precision,use a toothpick or safety pin to poke out stubborn deposits from the nozzles carefully.
- If your shower head has pliable plastic nubbins, manipulate them with your fingers to break loose calcium deposits.
5. Immersing in Vinegar Solution
- Immerse the shower head completely in a solution of vinegar, ensuring all parts are submerged.
- For added cleaning power, add a few tablespoons of baking soda to the vinegar, which provides a natural abrasive to help release clogged passages.
6. Reassembling the Shower Head
- Before reassembly, wrap new plumbing tape around the threads of the shower arm for a secure seal.
- Reattach the shower head to the arm using a wrench, ensuring a snug fit without over-tightening.
- Protect the fixture's finish by placing soft rags or towels around it during the reassembly process.
Safety Precautions and Tips
- Work in a well-ventilated space to minimise exposure to cleaning fumes, especially if using vinegar or commercial cleaning products.
- If your shower head has a delicate finish, like chrome or stainless steel, take extra care to prevent scratches. Use soft materials, such as cloths or towels, to protect the surface.
- Consider wearing gloves to protect your hands from cleaning solutions, particularly if you have sensitive skin.
- Exercise caution with tools like wrenches to avoid damage. Place a cloth around the wrench to protect both the shower head and surrounding surfaces.
By following these detailed steps and safety precautions, you'll embark on a journey to deep clean your shower head, ensuring it not only looks pristine but functions at its absolute best. Say goodbye to stubborn buildup and hello to a revitalised shower experience.
Post-Cleaning Maintenance of Shower Head for Shine and Flow
Having successfully revived your shower head, the key to sustaining its brilliance and performance lies in meticulous post-cleaning maintenance. Let's explore the essential steps to ensure that your shower head continues to provide an optimal and refreshing shower experience.
1. Reassembling with Care
- Thread Sealing: Before reattaching the shower head, wrap new plumbing tape around the threads of the shower arm. This creates a secure seal, preventing leaks and ensuring a seamless connection.
- Hand-Tightening: Reattach the shower head to the arm using your hands initially. Hand-tighten to a snug fit, and then use a wrench for a final adjustment. Be cautious not to over-tighten, as this can cause damage.
- Protection During Reassembly: Safeguard the finish of your shower head by placing soft rags or towels around it during the reassembly process. This extra layer of protection prevents scratches or scuffs.
2. Functional Check
- Water Flow Test: Turn on the water supply and conduct a brief water flow test. Ensure the streams are even and consistent. If there are any irregularities, revisit the cleaning process to address potential leftover deposits.
- Nozzle Inspection: Examine the nozzles for any remaining blockages. Use a toothpick or safety pin to clear out any stubborn debris. This meticulous check ensures your shower head is ready to provide an optimal shower experience.
3. Preventing Future Buildup
- Regular Inspections: Make it a habit to inspect your shower head regularly. Monthly checks can help you catch early signs of buildup before it becomes a significant issue. Consistent care prevents stubborn deposits from taking hold.
- Surface Cleaning: Incorporate surface cleaning into your weekly routine. A simple solution of equal parts water and distilled white vinegar sprayed on the shower head can help prevent the accumulation of mineral deposits.
- Consider a Shower Head Filter: Installing an exterior shower head filter can be a proactive measure. This additional layer helps reduce mineral deposits and contaminants, extending the time between deep cleanings.
- Opt for Metal Shower Heads: choose a metal shower head over a plastic one. Metal fixtures are less susceptible to mould growth, providing a more resilient surface against buildup.
4. Environmental Considerations
- Address Hard Water Issues: If hard water is prevalent in your area, consider addressing the root cause. Installing a water softener can significantly reduce mineral content, minimising the likelihood of stubborn buildup in your shower head.
- Humidity Control: Use bathroom fans during and after bathing to reduce humidity. A less humid environment discourages mould and mildew growth, contributing to a cleaner shower head.
By implementing these post-cleaning maintenance tips and adopting a proactive approach, you'll not only enjoy the immediate benefits of a revitalised shower head but also ensure its sustained performance in the long run. Keep the flow steady, the nozzles clear, and your shower head shining bright.
Regular Cleaning Schedule: Sustain a Refreshing Shower Experience
Maintaining a consistent cleaning schedule for your shower head is not just a chore;it's a key to preserving the efficiency and hygiene of your showering oasis.
Suggested Cleaning Frequency
1. Soft Water Areas:
- Frequency: Every 2-3 months.
- Reasoning: Soft water is less likely to cause mineral buildup, allowing for a less frequent cleaning schedule. However, it's essential to remain vigilant and address any early signs of buildup promptly.
2. Moderate Water Hardness:
- Frequency: Monthly.
- Reasoning: Areas with moderately hard water may experience mineral deposits at a moderate pace. Monthly cleaning helps prevent significant buildup and ensures a consistently satisfying shower.
3. Hard Water Areas:
- Frequency: Bi-weekly to monthly.
- Reasoning: Hard water areas pose a higher risk of mineral accumulation. Frequent cleaning, at least bi-weekly, is recommended to address the rapid buildup and maintain optimal shower head performance.
4. Frequent Shower Usage:
- Frequency: Monthly.
- Reasoning: If your shower sees daily use, even in soft water areas, monthly cleaning is advised to manage the accumulation of soap scum and potential bacterial growth.
Tips for a Seamless Cleaning Routine:
- Set Reminders: Incorporate shower head cleaning into your monthly or bi-weekly cleaning routine. Set reminders on your phone to ensure consistency.
- Quick Checks: Periodically inspect the shower head for early signs of buildup, such as uneven spray patterns or reduced water flow. Quick interventions can prevent larger issues.
- Adapt to Changes: If you relocate or experience changes in water hardness, adjust your cleaning frequency accordingly to address new challenges effectively.
By embracing a regular cleaning schedule tailored to your water type and usage patterns, you'll not only maintain a sparkling shower head but also extend its lifespan, contributing to a consistently invigorating shower experience.
Additional Tips and Tricks: Elevate Your Shower Head Care Routine
Beyond the conventional cleaning methods, incorporating additional tips and tricks into your shower head care routine can enhance efficiency and contribute to a more sustainable, eco-friendly approach. Let's explore these insights to elevate your cleaning game and embrace natural solutions for a sparkling, well-maintained showerhead.
1. Eco-Friendly Practices
- Water Conservation: While cleaning, capture the water used for rinsing in a bucket. Reuse it for watering plants or other household tasks. This not only reduces water wastage but also aligns with eco-conscious living.
- DIY Cleaning Solutions: Create your own natural cleaning solutions using ingredients like vinegar, baking soda, and lemon juice. These alternatives are effective, environmentally friendly, and safe for regular use.
- Reusable Cleaning Tools: Opt for reusable cleaning tools, such as microfiber cloths and washable scrub brushes, to minimise waste generated during the cleaning process.
2. Natural Cleaning Solutions
- Lemon Juice Soak: Harness the power of citric acid by soaking your shower head in a solution of lemon juice and water. The natural acidity helps dissolve mineral deposits and leaves behind a fresh citrus scent.
- Essential Oils: Add a few drops of essential oils, such as tea tree oil or eucalyptus oil, to your DIY cleaning solution. These oils not only contribute to a pleasant aroma but also possess antimicrobial properties.
- Salt Scrub: Combine salt with vinegar or lemon juice to create a scrub with added abrasive power. The coarse texture of salt enhances scrubbing efficiency, particularly in areas with stubborn buildup.
3. Preventive Measures
- Shower Head Filters: Consider installing a shower head filter to trap impurities and prevent mineral deposits. This not only extends the time between deep cleanings but also contributes to a healthier showering environment.
- Routine Surface Wiping: Incorporate a quick wipe-down of the shower head into your regular bathroom cleaning routine. Use a soft cloth or sponge to remove any surface residue, maintaining a clean appearance between deep cleans.
- Mindful Product Selection: When purchasing cleaning products, opt for those with minimal environmental impact. Look for eco-friendly certifications and biodegradable options to reduce your ecological footprint.
4. Consistent Observation
- Monitor Water Pressure: Regularly assess the water pressure and spray pattern of your shower head. Sudden changes could indicate the onset of buildup, prompting timely intervention.
- Address Mould Promptly: If you notice any signs of mould, address it promptly using a vinegar solution or an eco-friendly mould remover. Mould not only affects the efficiency of your shower head but also poses health risks.
Cost vs Benefit: Repairing or Replacing Your Shower Head
Regularly cleaning the shower head can extend its lifespan and prevent clogging. Below is the cost table for repairing or replacing your shower head:
| Option | Average cost | Benefits |
| Standard Shower Head | ₹450 - ₹1000 | Fresh look, improved water flow |
| Shower leakage repair | ₹400 - ₹600 | Fixes leaks, nozzle issues |
| Water pressure issue | ₹350 - ₹500 | Improved water flow |
| DIY repair/cleaning | ₹100 - ₹350 | Low-cost, easy |
| Premium shower head | ₹1,800 - ₹3000 | Advanced features |
Book Your Home Cleaning Services with NoBroker
Understanding how to clean a showerhead is pivotal for a consistently refreshing and hygienic bathing experience. Regular cleaning not only optimises water flow and pressure but also safeguards against potential health hazards linked to bacterial growth. For a hassle-free solution, consider NoBroker Cleaning Services, an expert choice for maintaining impeccable showerheads and more. Trust the professionals to handle the intricacies, ensuring your shower remains a sanctuary of cleanliness. Choose NoBroker Cleaning Services for a seamless and effective solution.
Frequently Asked Questions
Q1. How to clean a shower head at home?
Ans: Effortlessly revive your shower head by using a simple vinegar soak or a baking soda scrub—both effective DIY solutions!
Q2. How can I effectively clean shower head holes for optimal water flow?
Ans: To rejuvenate your shower experience, use a vinegar soak or a toothpick to clear any debris from the clean shower head holes.
Q3. Can I clean a showerhead with lemon juice?
Ans: Absolutely! The citric acid in lemon juice works wonders, naturally dissolving mineral deposits for a sparkling, eco-friendly clean.
Q4. Is a self-cleaning showerhead worth it?
Ans: Absolutely! A self-cleaning showerhead minimises maintenance hassles, preventing mineral buildup for a consistently pristine shower experience.
Q5 Is cleaning the shower head with vinegar effective?
Ans: Certainly! Cleaning the shower head with vinegar is a natural and efficient method to dissolve mineral deposits, ensuring optimal performance.
Q6. Is it necessary to open the shower head for cleaning?
Ans: Opening the shower head for cleaning, especially if there's stubborn buildup, allows for thorough removal of mineral deposits and ensures optimal water flow.
Q7: What if my shower head still has low pressure after cleaning?
Ans: Low pressure may be due to plumbing issues, clogged pipes, or a low water supply, not just the shower head.
Q8: Are plastic shower heads easier to clean than metal ones?
Ans: Plastic shower heads are lighter and easier to clean than metal ones.
Q9. How to clean a shower head without taking it off?
Ans: Fill a plastic bag with vinegar, tie it around the shower head, and soak for 1-2 hours before rinsing.
Q10. How can I clean a shower head?
Ans: Use vinegar, baking soda, or lemon juice to dissolve limescale, scrub with a toothbrush and flush with hot water.
Recommended Reading
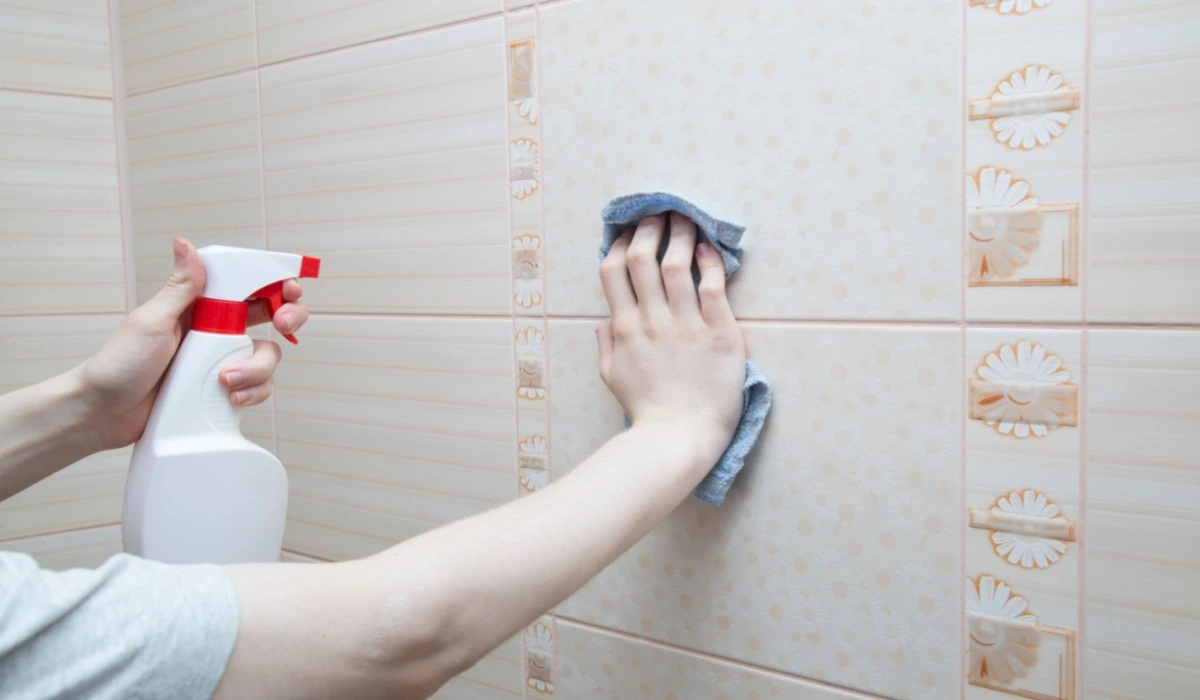
How to Clean Bathroom Tiles: Effective Ways to Remove Hard Water Stains and Soap Scum
January 15, 2025
17019+ views
10 Best Bathroom Cleaning Liquid: Solutions for a Sparkling and Hygienic Space 2026
February 10, 2025
15597+ views
Top 10 Bathroom Cleaning Apps for Easy Home Cleaning Services in 2026
January 31, 2025
11084+ views

Drain Cleaning Tools India: Best Options for Drain Cleaning in 2026
April 28, 2025
10939+ views

Top 10 Eco-Friendly Toilet Cleaners in India for Every Home in 2026
January 31, 2025
9020+ views
ARTICLE SOURCES
NoBroker Easy Cleaning Tips Testimonials
Most Viewed Articles

List of the Best Home Cleaning Apps: Book Home Cleaning Services for Daily and Deep Cleaning
January 31, 2025
27380+ views

Deep Clean Your Washing Machine: Step-by-Step Guide & Tips
January 31, 2025
21736+ views
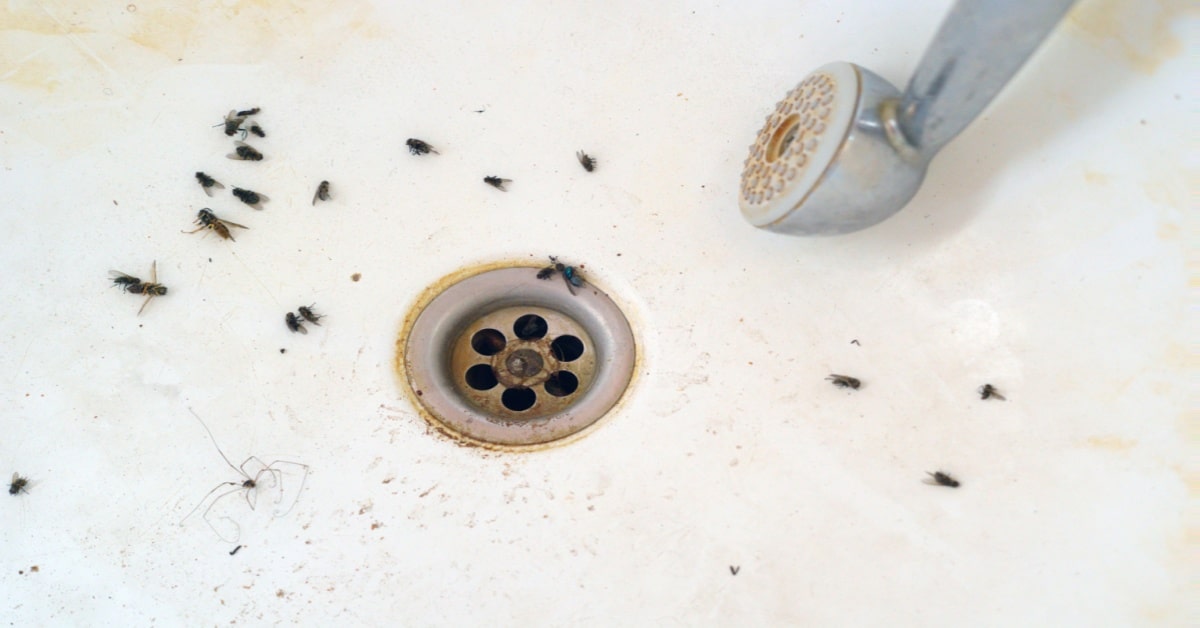
How to Get Rid of Bathroom Flies: 8 Quick Methods
January 31, 2025
20997+ views

Top 10 Tile Cleaner Liquids with Prices in India for 2026
February 23, 2025
19654+ views

Diwali Cleaning Tips and Guide: Make Your Home Shine for the Festival in 2026
January 31, 2025
18305+ views
 Author
Loved what you read? Share it with others!
Recent blogs in
Move-In vs Move-Out Cleaning: Key Differences & Complete Checklist in 2026
March 9, 2026 by Krishnanunni H M
Bathroom Steam Cleaning: Process, Benefits, and Professional Tips in 2026
March 9, 2026 by Priyanka Saha


 Full RM + FRM support

Join the conversation!