Table of Contents
Loved what you read? Share it with others!
Floor Buffing: Techniques to Keep Surfaces Shine and Smoothness to Your Floors
Updated : September 25, 2025, 10:36 AM
Author :
Prakhar
Table of Contents
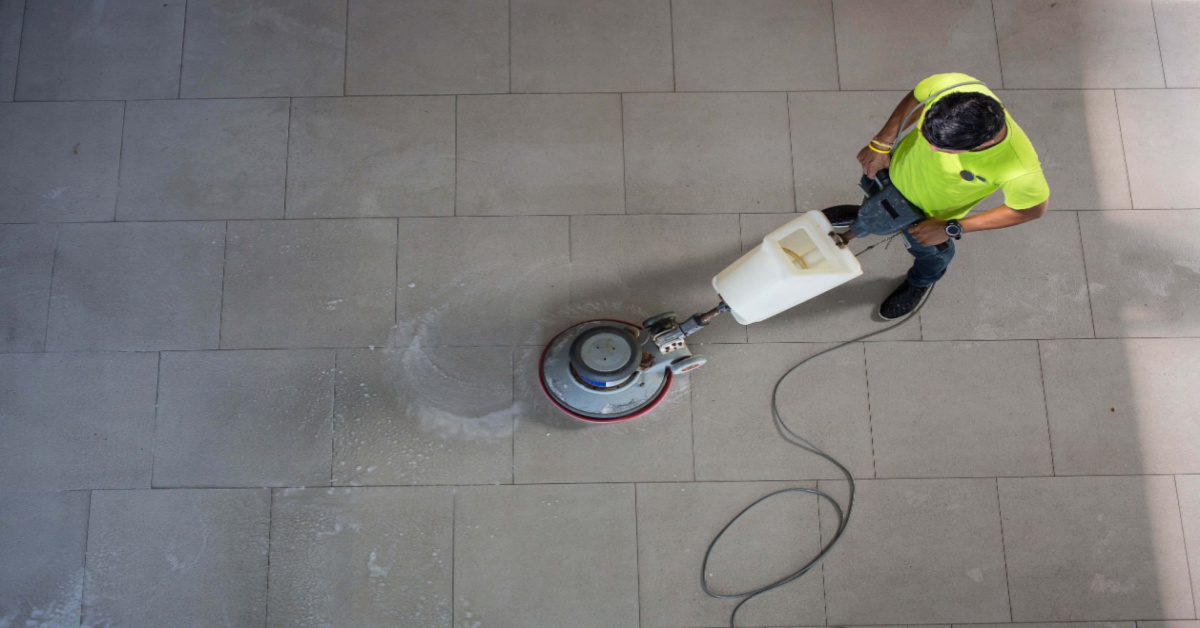
Floor buffing is a method to refresh and shine floors by removing dirt, scratches and dullness. It involves using specialised equipment, like a wood floor buffer, to polish the wooden surfaces evenly. The process can be done with rotary machines, pads, or manual tools, depending on the floor type. Regular buffing enhances floor longevity, prevents wear, and maintains a smooth, glossy finish. Costs typically range from ₹500 to ₹ 2,500 per session, influenced by the floor size and materials. It is suitable for homes, offices and commercial spaces. Floor buffing is quick, effective, and eco-friendly, reducing the need for harsh chemicals. Using a wood floor buffer ensures wooden floors stay protected, polished, and visually appealing for years.
Floor Buffing: A Quick Info Table
Using a home floor buffer makes maintaining different floor types simple and effective. This table shows recommended techniques and equipment required for hardwood, tile, vinyl, laminate and concrete floors.
| Floor Type | Recommended Technique | Equipment Needed |
| Hardwood | Light buffing and polishing | Home floor buffer, soft pads, polishing compound |
| Tile & Grout | Wet buffing and scrubbing | Rotary buffer, scrub brush, mild cleaner |
| Vinyl & Linoleum | Dry or light damp buffing | Floor buffer, microfiber pads |
| Laminate | Gentle buffing | Soft pads |
| Concrete | Wet or dry buffing | High-speed buffer, diamond pads, sealant |
Floor Buffing Process: Step-by-Step Method
Using a floor buffer polisher, floor buffing becomes easy and efficient. Follow this step-by-step process to clean, shine or restore your floors, keeping them smooth, polished and well-maintained.
- Step1: Preparation
- Preparation is necessary before polishing the floor. Remove furniture, clutter, and obstructions. Sweep or vacuum loose debris and dust off the floor.
- Step2: Choose Products and Equipment
- Select a buffing machine based on the type of flooring and the level of repair required. Rotary, oscillating, and orbital buffing machines are available. Use the correct buffing pads or brushes for polishing, scrubbing, or stripping.
- Step3: Finish Floor (Optional)
- Clean or apply the right finish if the floor needs a new coat. Wait until the finish is dry before buffing.
- Step4: Buffing
- Connect the buffing pad or brush to the machine. Start buffing in one corner and work your way across the floor. Maintain continuous pressure and speed on the high-speed floor buffer machine. Cover evenly with overlapping figure-eight or circular movements.
- Step5: Repeat if Needed
- You may need to buff again, depending on the restoration level. This may need replacing the buffing pad or adding a finish.
- Step6: Clean Up
- After buffing, clean the Equipment and let the floor dry before reintroducing furniture or foot activity.
To create a polished and revitalised floor surface, floor buffing requires comprehensive preparation, equipment selection, and methodical buffing. You should engage a professional floor buffing service to get optimal results.
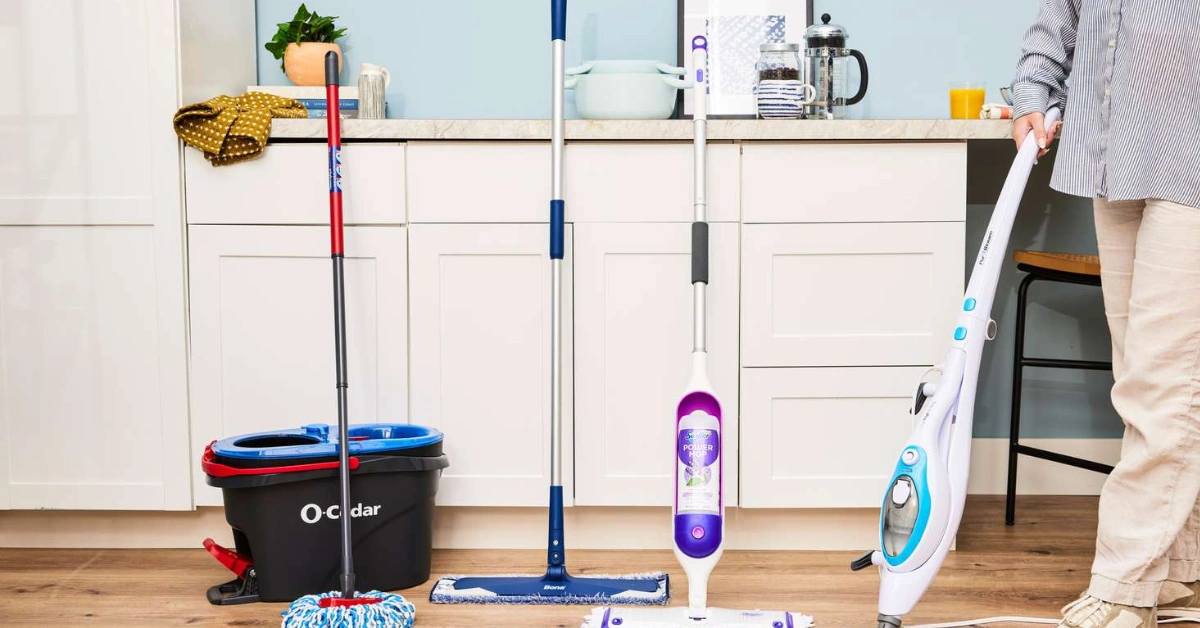
Equipment And Supplies For Floor Buffing
The correct floor buffing equipment and materials are essential for success. This list covers floor buffing supplies and Equipment.
1. Buffing Machine
A buffing machine simplifies floor polishing, making surfaces shiny and smooth. It is ideal for hardwood, tile, vinyl, or concrete floors, saving time while providing professional-looking results at home or office.
- Rotary Floor Equipment: A typical buffing machine, equipped with a spinning circular brush or pad, removes dirt and polishes floors; the size of the machine depends on the surface area.
- Oscillating Machine: Commercial buffer moving back and forth cleans and shines floors effectively without continuous spinning, making it ideal for large areas.
- Orbital Machine: Random orbital buffer gently cleans and polishes floors, prevents swirl marks, and works well on delicate or wooden surfaces.
2. Buffing Pads or Brushes
Buffing pads or brushes are essential for effective floor care. They clean, polish, or strip floors, depending on the type, helping to maintain shine, remove dirt, and restore surfaces efficiently.
- Polishing Pads: It is used to restore floor shine and is available in varying levels of abrasiveness, depending on the surface condition and repair needs.
- Scrubbing Pads: Thoroughly clean tough dirt, grease, and stains; harsher pads may require compatible floor-cleaning solutions.
- Stripping Pads: Remove old wax or finish; highly abrasive pads are used with stripping chemicals for deep cleaning and restoration.
3. Cleaning Solutions
Cleaning solutions are essential for effective floor buffing. They remove old finishes, clean daily dirt and prepare surfaces for relocating, keeping floors polished, protected and long-lasting.
- Floor Finish Remover: It dissolves and removes old wax or finish, preparing floors for recoating or refinishing for a smooth, clean surface.
- Neutral Floor Cleaner: The pH-neutral solution cleans everyday dirt and grime without damaging or dulling the floor surface.
- Floor Coating: After buffing, apply appropriate finish depending on floor type; options include high gloss, matte or satin coatings.
4. Safety Equipment
Safety equipment is essential when buffing marble floors. Proper gear protects eyes, hands and feet from chemicals, debris, and accidents, ensuring a safe and efficient floor buffing process.
- Safety Glasses: Protect eyes from splashes, dust, and flying debris during buffing or cleaning, preventing injuries and irritation.
- Gloves: Shield hands from chemicals, abrasives, and rough pads while buffing floors for safe handling and comfort.
- Footwear: Wear sturdy, closed-toe shoes with non-slip soles to prevent slips, falls, or injuries during buffing tasks.
5. Accessories
Accessories make floor buffing easier and safer. They help reach every corner, prevent accidents, and remove excess water, ensuring smooth, efficient buffing for all floor types.
- Extension Cord: Provides sufficient length to reach all areas without requiring constant unplugging, allowing for uninterrupted and efficient floor buffing.
- Floor Signs: Place warning signs on wet floors to prevent slips, falls, and accidents while drying or cleaning.
- Floor Squeegee: It removes extra water or cleaning solution after washing, leaving floors ready for buffing or drying efficiently.
6. Maintenance Tools
Maintenance tools are essential for effective floor buffing. They ensure pads and brushes work properly, last longer, and provide consistent cleaning and polishing results for all types of floors.
- Pad Driver: Secures buffing pads or brushes to the machine’s drive head, ensuring safe attachment and smooth operation during buffing.
- Pad Cleaning Tool: Cleans buffing pads between uses, removing dirt and debris to prolong pad life and maintain efficiency.
- Multiple brushes: Use soft brushes for delicate surfaces and firm brushes for heavy-duty cleaning with a rotating floor machine.
7. Dust Control Equipment
Dust control equipment ensures clean, polished floors. Removing loose dirt and debris before and after buffing improves results and protects floors during maintenance and refinishing tasks.
- Vacuum Cleaner: Use a vacuum with a brush attachment to remove loose dirt and debris before starting the buffing process.
- Dust Mop: Follow buffing with a dust mop to pick up leftover dust or debris for a spotless finish.
- Proper tools and materials are essential for efficient buffing, refinishing hardwood, cleaning tile, and removing wax from vinyl floors.
Floor Buffing Techniques For Different Floor Types
Floor buffing can improve various types of flooring. However, various floor types require different methods for optimal outcomes. A detailed look at floor buffing procedures for various floor types:
1. Hardwood Floors
Hardwood flooring requires regular maintenance to preserve its beauty and minimise damage. Buff hardwood floors using these methods:
- Select the Right Pad: Choose a soft or medium-duty hardwood floor buffer for hardwood floors. Try not to use abrasive pads that scrape or dull.
- Use low to moderate pressure when buffing hardwood floors to minimise surface damage. Use the machine's weight, mostly.
- When buffing hardwood floors, follow the grain to avoid streaks and keep the natural look.
- To maintain and improve the sheen of the wood surface, use a high-quality floor finish after buffing. Apply and dry according to product directions.
2. Tile and Grout
Tile and grout floors need deep cleaning to remove dirt and grime. Buff tile and grout floors using these methods:
- Select the Right Scrubbing Tool: Use a stiff-bristled brush or abrasive pad for tile and grout surfaces. Avoid abrasive pads that may scratch tiling.
- Pre-treat Stains: Apply a cleaning solution to tough stains or dirt on grout lines and let it sit before polishing.
- Scrubbing Motion: Scrub back and forth to agitate the cleaning solution and remove debris from the tile and grout. Concentrate on dirty and high-traffic areas.
- Rinse tile and grout thoroughly after polishing to minimise streaking and residue accumulation.
3. Vinyl and Linoleum
Vinyl and linoleum flooring are durable yet dull. Buff vinyl and linoleum floors using these methods:
- Select a soft or medium-duty buffing pad for vinyl and linoleum floors. Try not to use abrasive pads that scrape or dull.
- Use low to moderate pressure when buffing vinyl and linoleum floors to restore lustre without harm. Use the machine's weight, mostly.
- Reduce Moisture: Avoid excessive water or liquid cleansers to prevent warping or bubbling of vinyl and linoleum flooring.
- Buff in Sections: Work on one part simultaneously to guarantee complete coverage and uniform results.
4. Laminate Flooring
Laminate flooring is resilient but can be damaged by excessive moisture or harsh cleaning methods. Buff laminate flooring using these methods:
- Select the Right Pad: Use a soft or medium-duty buffing pad for laminate flooring. Try not to use abrasive pads that scrape or dull.
- Apply lightly to moderate pressure when buffing laminate floors to restore lustre without harm. Use the machine's weight, mostly.
- Reduce Moisture: Avoid excessive water or liquid cleansers to prevent laminate flooring from swelling or warping.
- To minimise streaking and preserve a consistent look, buff laminate flooring at the plank seams.
5. Concrete Floors
Concrete floors need rigorous polishing to remove persistent stains and restore gloss. Buff concrete floors using these methods:
- Select the Right Scrubbing Tool: Use a stiff-bristled brush or abrasive pad for concrete surfaces. Try diamond pads for heavy-duty buffing.
- Adjust Buffing Machine Pressure: Adjust the pressure of the concrete floor buffer based on the concrete floor condition. More pressure may be required for stubborn stains or heavily soiled areas.
- Use Concrete Cleaner: First, use a concrete cleaner or degreaser to remove debris and stains before polishing.
- Prevent streaks and residue accumulation by thoroughly rinsing the concrete floor with clean water after a small floor buffer polisher.
Use the proper buffing procedures for each floor type to get great results without harm. Follow manufacturer instructions for floor surfaces and cleaning products to get the best results.
Tips for the Effective Buffing Process
Buffing takes precision and expertise to look professional. Tips for polishing effectively:
1. Proper Prep
- Clean the area: Ensure free mobility while buffing by clearing the area of furniture, garbage, and impediments.
- Clean the Floor: Remove loose dirt and debris by sweeping or vacuuming the floor. Remove as much debris as possible before polishing to avoid scratches.
- Treat Stains: Apply pre-treatment or spot treatment for tough stains or heavy soiling. Let the solution sit for the appropriate period before polishing.
2. Choose Equipment
- Pick the Right Machine: Select the suitable buffing machine based on floor type, area size, and restoration level.
- Select Pads & Brushes: Choose appropriate buffing pads or brushes for the floor type and desired result. Ensure you have the correct pads or brushes for polishing, cleaning, or stripping.
- Check Compatibility: Ensure the pads, brushes, and machine are compatible in size and design for sale and effective buffing.
3. Use Good Products
- Choose Quality Products: Invest in premium buffing chemicals, polishes, and cleaning solutions. Poor goods might lead to poor outcomes and additional work to complete.
- Follow Instructions: For cleaning solutions and compounds, follow manufacturer instructions for dilution ratios and application procedures. Using the proper concentration, clean and polish floors without hurting them.
- Test Before Use: Try products on a small, hidden area first to ensure compatibility and prevent damage to the floor surface.
4. Test Inconspicuously
- Check Compatibility: Test materials and Equipment in a small area before buffing the whole floor to confirm compatibility and desired results.
- Adjust Techniques: Before buffing, use this test area to alter your technique, product, or machine settings.
- Observe Results: Allow the test spot to dry completely, and then check for shine, smoothness, or damage before proceeding with complete buffing.
5. Use Proper Technique
- Maintain Control: Keep the buffing machine running at a steady speed and pressure. Sudden movements or direction changes might cause uneven buffing or streaking.
- Detailed Work: Overlapping passes provide complete coverage and avoid missing areas. A homogeneous floor finish is achieved using this method.
- Work in sections: To polish the floor, work in tiny portions and gradually go over it. This method ensures that each part is adequately addressed and prevents the product from drying before polishing.
6. Keep Equipment Clean
- Maintain Equipment: Ensure maximum performance and lifespan by regularly cleaning and maintaining buffing Equipment.
- Use Clean Pads: Use clean buffing pads or brushes to remove dirt, debris, and residue between uses. Dirty pads may transmit impurities to the floor, harming polishing.
- Inspect & Replace: Regularly inspect and replace buffing pads or brushes as required. Worn or damaged pads may not buff well and provide poor results.
7. Track Product Use
- Avoid Overuse: Don’t use excessive cleaning solutions or compounds during buffing. Overusing products may cause streaking, residue accumulation, and slippery floors.
- Apply Evenly: Use products sparingly and evenly to get desired results without waste.
- Monitor Inventory: Keep track of product amounts to ensure consistent usage, prevent shortages, and maintain cost-effective floor buffing practices.
8. Take Safety Measures
- Wear Protective Gear: Use safety glasses, gloves, and closed-toe shoes to prevent chemical exposure and harm.
- Use Warning Signs: Set up warning signs or barriers to alert people to damp floors and prevent accidents.
- Ensure Ventilation: Ensure sufficient ventilation while using cleaning solutions or chemicals to reduce fume exposure.
9. Assess Results and Adjust
- Check the Floor: Test the floor surface after buffing to confirm the desired results. Adjust as needed to solve problem areas.
- Re-Buff if Needed: Rebuff or add the product to improve the floor surface if required.
- Refine Technique: Adjust machine speed, pressure or pad type for future buffing to improve results and efficiency.
These suggestions and procedures will help you polish the floor professionally while preserving its integrity. A polished and regenerated floor requires proper preparation, equipment selection, technique, and attention to detail.
Common Mistakes to Avoid in Floor Buffing
Avoiding common mistakes during floor buffing ensures better results and longer-lasting floors. Proper techniques, tools, and precautions prevent damage, scratches, and uneven polishing. Below are a few common mistakes to avoid:
- Using the Wrong pads: Avoid damage by selecting pads that are suited for your floor type; match the abrasiveness to the surface condition.
- Skipping Cleaning: Always clean floors before buffing; dirt and debris can scratch or dull the surface during polishing.
- Excessive Pressure: Don’t press too hard; let the machine or floor buffer do the work for smooth, even results.
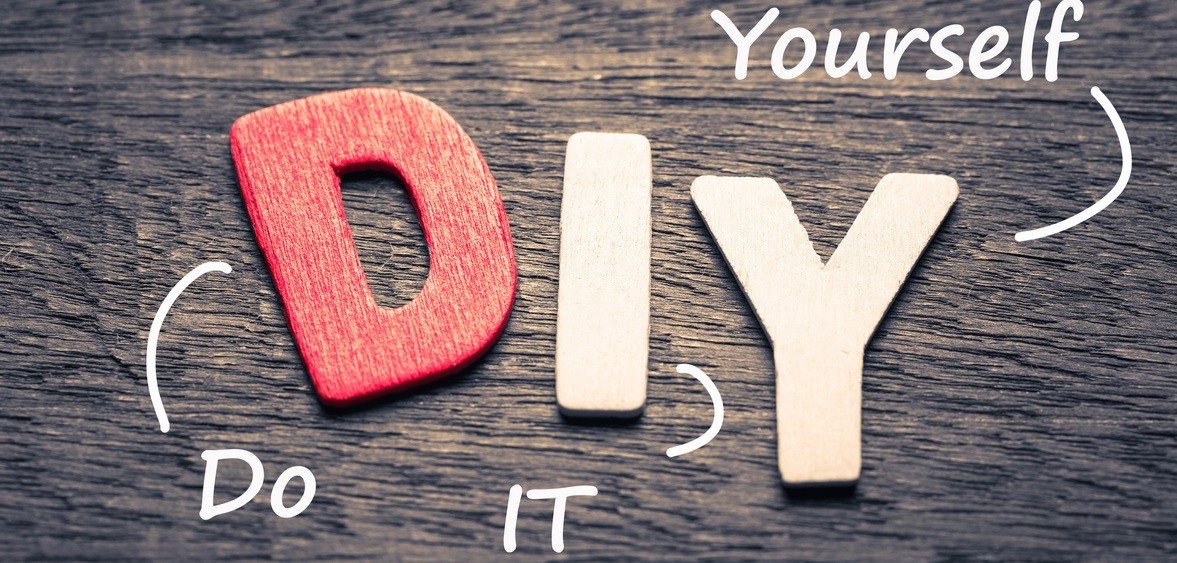
Cost of Floor Buffing: DIY vs Professional Services
The cost of floor buffing depends on whether you choose DIY or professional services. DIY is budget-friendly, while professionals provide expert results with higher precision and convenience. The table below will explain things in a better way:
| Details | Approximate Cost | What is included |
| DIY Floor Buffing | ₹1,500-₹4,000 (equipment rental, pads, cleaners) | It includes rental or buffer, pads, cleaning solutions, and personal effort |
| Professional Services | ₹8- ₹20 per sq. ft. (₹5,000 - ₹20,000 total depending on area) | Skilled labour, equipment, cleaning, polishing, finishing |
Preventive Maintenance Tips to Keep Floors Shiny Longer
Preventive maintenance helps floors stay shiny and durable for longer. Simple daily habits and care can reduce scratches, dirt buildup, and wear, keeping floors polished and attractive.
- Regular cleaning: Sweep or vacuum daily to remove dust and dirt that cause scratches, keeping your floor smooth and shiny.
- Use Rugs: Place mats or rugs in high-traffic areas to protect floors from dirt, moisture and heavy wear.
- Gentle Products: Always use pH-neutral cleaners and soft pads; harsh chemicals or rough tools can dull or damage the rough surface.
Hire NoBroker Floor Buffing Services
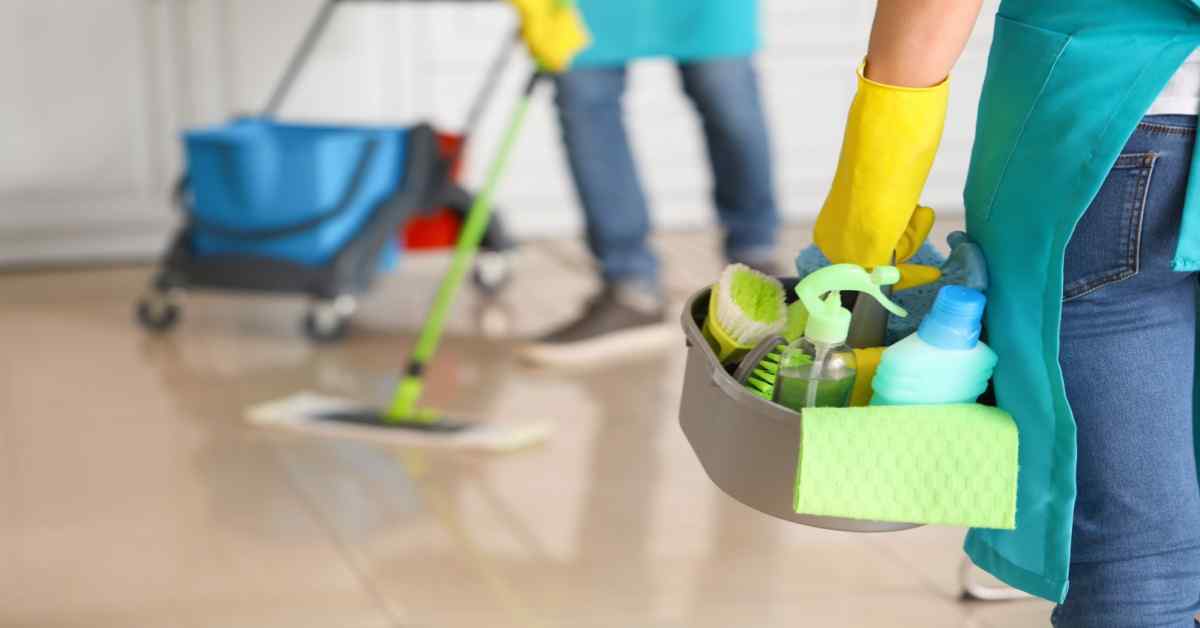
Pricing is a major factor to consider when scheduling expert domestic cleaning services to clean your property thoroughly. Consider NoBroker Home Services if you're looking for a trustworthy floor buffing or cleaning service at a cost that rivals that of top providers in the field. To eliminate bacteria that can cause infections, our team thoroughly cleans the floors, bathrooms, kitchens, and outside of the house, including the slick tiles and discoloured sinks and toilets. The best house cleaning services can be scheduled with just one click by visiting NoBroker.in or using the NoBroker mobile app.
Frequently Asked Questions ?
Ans. Floor buffing frequency varies on flooring type, traffic, and maintenance plan. High-traffic sections may need buffing every 1-3 months, while low-traffic areas may need it a few times a year.
Ans. Professionals and homeowners buff floors. Homeowners may do simple upkeep using rental or own devices. A professional floor care business may be best for more extensive areas or particular requirements.
Ans. If the floor contains old wax or finish, it is stripped before polishing. An excellent floor may require a touch-up or shine restoration, so stripping may not be necessary.
Ans. Buffing restores floor shine using a buffing machine and pads or brushes. Polishing floors entails using polish or wax to boost lustre. Cleaning the floor using scrubbing pads or brushes more aggressively removes dirt, filth, and stains.
Ans. The kind of flooring, temperature, humidity, and materials used affect buffing drying time. After buffing, most floors should feel dry after 30–60 minutes. Before permitting foot traffic or reinstalling furniture, observe manufacturer instructions and allow enough drying time.
Ans. Buff floor every 3-6 months, depending on foot traffic, surface type, and condition, to keep it shiny and well-maintained.
Ans. Yes, you can do floor buffing with rental equipment, but professionals give better results, save time and ensure even polish.
Recommended Reading

Top 10 Tile Cleaner Liquids with Prices in India for 2026
February 23, 2025
19882+ views
Top 10 Floor Cleaner Liquids: Price, Purpose and Application 2026
February 23, 2025
17203+ views
Top 10 Mops for Scrubbing Floors in 2026: Types, Prices, Maintainence Tips, Pros and Cons
May 21, 2025
13006+ views

Top 10 Marble Cleaning Liquids with Prices in India in 2026
February 23, 2025
9716+ views
Best Homemade Tile Cleaner Recipes for Radiant Tiles
January 31, 2025
9337+ views
NoBroker Easy Cleaning Tips Testimonials
Most Viewed Articles
List of the Best Home Cleaning Apps: Book Home Cleaning Services for Daily and Deep Cleaning
January 31, 2025
27749+ views

Deep Clean Your Washing Machine: Step-by-Step Guide & Tips
January 31, 2025
21870+ views
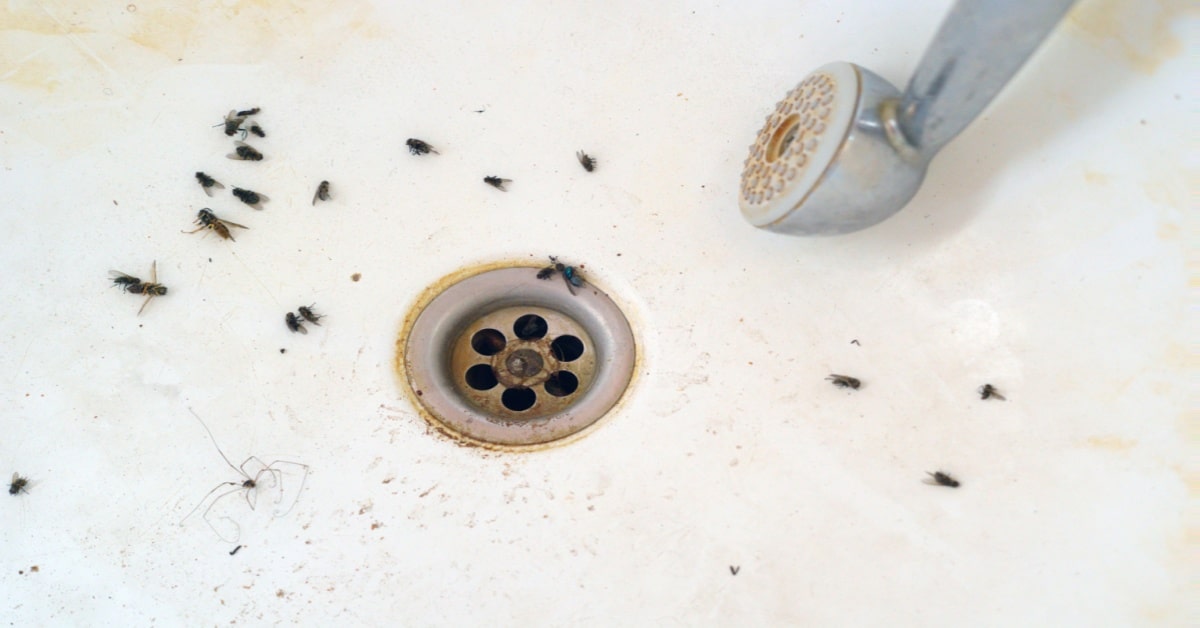
How to Get Rid of Bathroom Flies: 8 Quick Methods
January 31, 2025
21412+ views
Top 10 Tile Cleaner Liquids with Prices in India for 2026
February 23, 2025
19882+ views
Diwali Cleaning Tips and Guide: Make Your Home Shine for the Festival in 2026
January 31, 2025
18313+ views
 Author
Loved what you read? Share it with others!
Recent blogs in
Move-In vs Move-Out Cleaning: Key Differences & Complete Checklist in 2026
March 9, 2026 by Krishnanunni H M
Bathroom Steam Cleaning: Process, Benefits, and Professional Tips in 2026
March 9, 2026 by Priyanka Saha


 Full RM + FRM support

Join the conversation!