How to Clean a Microwave: Complete Guide to Every Cleaning Method, Common Mistakes to Avoid, and Easy Tips to Keep It Clean Longer
Appliance Tips & Guides
154 Views
Table of Contents
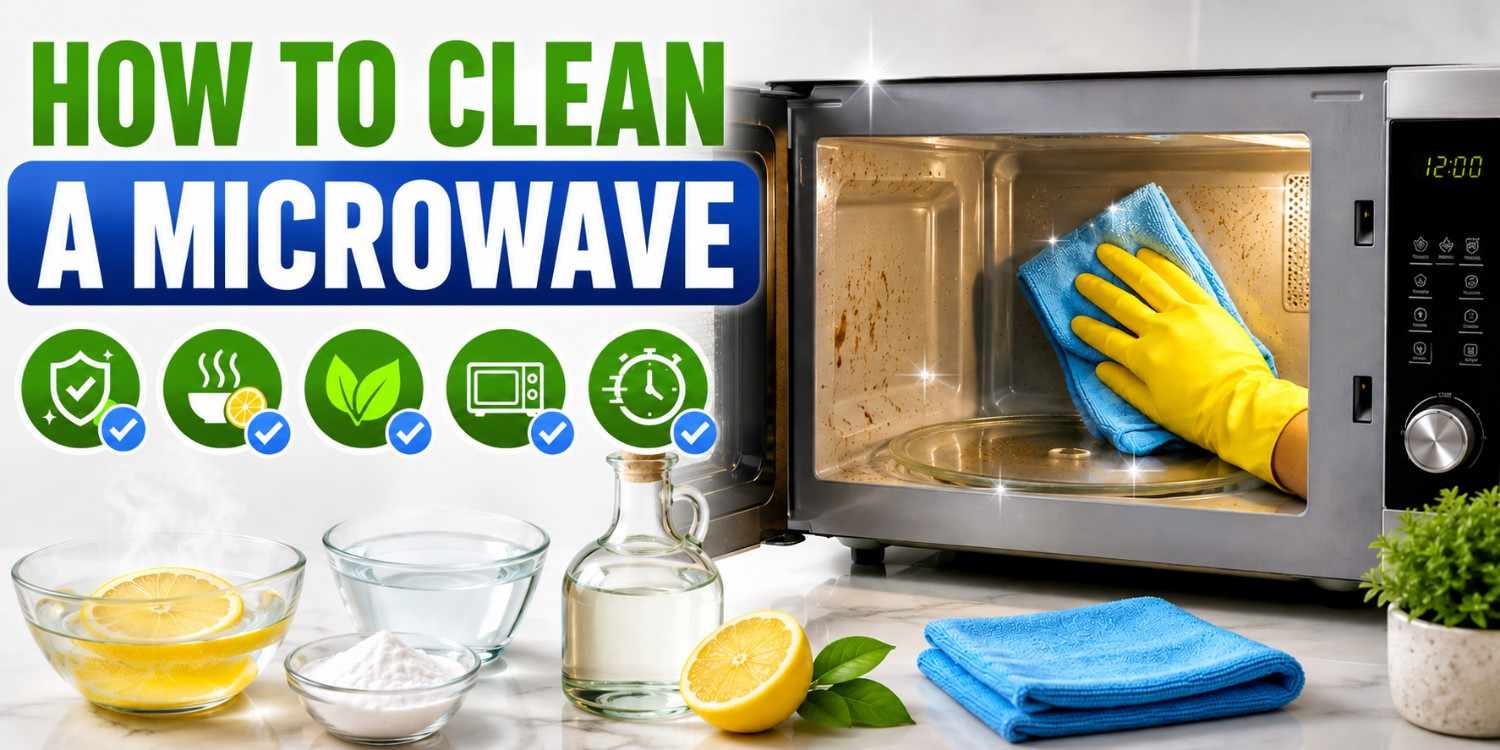
The microwave is among the most popular kitchen gadgets. Unfortunately, this is also one of the most ignored kitchen devices when it comes to cleaning. It is easy to let food splatters, oil spills, odors, and burned food collect on and inside the device. Cleaning a microwave is important in order to ensure cleanliness, improved heating, and longevity of the device. Below is an overview of how you can clean your microwave, mistakes to avoid, tips for cleaning, and keeping your microwave clean.
Why Regular Microwave Cleaning Is Important
Microwave cleaning helps get rid of grease, bacteria, food stains, and lingering smells. This also ensures your machine works well and avoids hard-to-clean dirt buildup in the future.
- Bacteria prevention
- Get rid of smells
- Enhances microwave functionality
- Reduces grease buildup
- Kitchen hygiene maintenance
- Extends appliance lifespan
Common Signs Your Microwave Needs Cleaning
However, it is not difficult to detect a dirty microwave since the appliance becomes prone to visible stains, offensive odors, greasy surfaces, or smoke whenever one uses it.
- Food spatters on the wall lining
- The greasy surface of the microwave
- Smell of burnt food
- Sticky microwave control pad
- Smoke while heating food
- Dirty microwave glass window
- Dirty microwave vent holes
How to Clean the Outside of a Microwave Easily and Safely
The cleaning process helps to get rid of fingerprints, grease marks, and dust on the microwave's exterior. Consistent outside cleaning is also important because it helps keep the microwave looking good.
Supplies You Will Need
- Microfiber cloth
- Warm water
- Mild dish soap
- Soft sponge
- Dry towel
- White vinegar spray
Steps to Clean the Outside of a Microwave
- Start by unplugging the microwave
- Get rid of any loose dust
- Make a soapy solution with water
- Soak the cloth in the mixture
- Gently wipe the microwave door
- Properly clean the microwave handle
- Carefully clean the microwave touchpad
- Thoroughly dry the appliance
Tips for Best Results
- Do not use strong chemical cleaners
- Avoid soaking the electronics
- Always use a microfiber cloth
- Be gentle when cleaning stainless steel
- Wipe the exterior every week
- Keep vents clear of dust
Different Methods to Clean the Inside of a Microwave at Home
Various cleaning techniques assist in the elimination of grease and food burns, unpleasant odors, and bacteria. Cleaning products using natural ingredients are inexpensive, safe, and easy to make at home.
How to Clean a Microwave With Vinegar
Natural vinegar will help to eliminate grease and food burns, soften dried food remains and eliminate any unwanted smell inside the microwave.
Supplies You Will Need
- White vinegar
- Microwaveable container
- Warm water
- Sponge
- Dry cloth
Steps to Clean a Microwave With Vinegar
- Pour water into the container
- Mix white vinegar and water
- Put the container in the microwave for five minutes
- Let the steam settle inside
- Remove the container carefully
- Wipe interior surfaces
- Dry the microwave properly
Tips for Best Results
- Equal amount of water
- Repeat if there is more grease
- Clean microwave corners properly
- Keep the door open after
- Do not overheat the mixture
How to Clean a Microwave Using Lemon
Lemons not only get rid of microwave smell but also work by loosening grease and stains when cleaning with steam.
Supplies You Will Need
- Fresh lemons
- Microwave-safe dish
- Water
- Soft cloth
Steps to Clean a Microwave Using Lemon
- Cut some fresh lemons
- Add lemons to water
- Heat for five minutes
- Let the steam soften the dirt
- Take out the dish carefully
- Clean the interior of the microwave
Tips for Best Results
- Use fresh lemons only
- Repeat for strong odors
- Wipe quickly afterwards
- Clean the corners too
Cleaning Your Microwave Using Baking Soda
Using baking soda will ensure that your greasy, scorched, or stained dirty microwave is cleaned quickly and effectively.
Supplies You Will Need
- Baking soda
- Warm water
- Bowl
- Sponge
- Towel
Steps for Cleaning Your Microwave Using Baking Soda
- Prepare a thick paste
- Spread paste on dirty areas
- Leave for ten minutes
- Gently scrub using a sponge
- Clean any leftover residues
- Dry microwave interior
Tips for Best Results
- Do not use harsh cleaning tools
- Ensure a thick paste is made from baking soda
- Apply to persistent stains
- Thoroughly dry the microwave interior
Cleaning Your Microwave Using a Bowl of Water
One of the easiest techniques that can be used for cleaning a microwave oven without the use of any chemical agents is steam cleaning using plain water.
Supplies You Will Need
- Microwave safe bowl
- Water
- Sponge
- Soft cloth
Steps to Clean a Microwave With a Bowl of Water
- Pour water into the bowl
- Heat in the microwave for some time
- Allow steam to soften stains
- Carefully take out the bowl
- Clean inside the microwave
- Thoroughly dry surfaces
Tips for Best Results
- Do not fill the bowl completely
- Use hot water
- Apply when the microwave is very dirty
- Wipe immediately after the microwave stops
How to Clean a Microwave With a Wet Sponge
A wet sponge method is useful for quick daily microwave cleaning and removing fresh food splatters easily.
Supplies You Will Need
- Clean sponge
- Water
- Mild dish soap
- Dry cloth
Steps to Clean a Microwave With a Wet Sponge
- Wet the sponge properly
- Add a little dish soap
- Heat the sponge briefly
- Let the steam loosen the dirt
- Wipe microwave surfaces
- Dry completely afterward
Tips for Best Results
- Never overheat the sponge
- Use a clean sponge only
- Avoid excess dripping water
- Clean after every use
Which Microwave Cleaning Method Works Best? (Comparison Table)
Each microwave cleaning technique will produce various outcomes depending on the level of stain, grease, and odor. Selecting an appropriate technique will improve cleaning efficiency.
| Method | Best For | Cleaning Power | Odor Removal Ability | Safety Level |
| Vinegar Method | Grease and odors | High | Excellent | High |
| Lemon Method | Light stains | Medium | Excellent | High |
| Baking Soda Method | Burnt stains | High | Good | High |
| Water Steam Method | Daily cleaning | Medium | Moderate | Very High |
| Wet Sponge Method | Quick cleaning | Low | Moderate | High |
How to Deep Clean a Microwave Easily and Effectively
Deep cleaning gets rid of any grease, burning, bacteria, and other stains present inside the microwave interior, glass trays, fans, and corners.
Supplies You Will Need
- Vinegar
- Baking Soda
- Dish Soap
- Lemon
- Warm Water
- Sponge
- Toothbrush
- Microfiber Cloth
Step-by-Step Process for Deep Cleaning a Microwave
- Disconnect the microwave before doing anything
- Take out the microwave glass tray
- Clean the tray separately
- Steaming the microwave interior with vinegar
- Gentle scrubbing of difficult-to-clean stains
- Cleaning the microwave fan properly, along with the filters in the microwave that trap most of the grease before it reaches the fan
- Properly wiping the microwave interior
- Gently cleaning the microwave touchpad
- Completely drying everything you've cleaned
Deep Cleaning Tips for Best Results
- Deep clean your microwave every month
- Clean up spills immediately
- Do not use steel wool scrubber pads
- Proper cleaning of the microwave door corners
- Maintain clean microwave vents
- Always dry the microwave completely
What Common Mistakes Should You Avoid When Cleaning a Microwave?
Improper techniques for cleaning microwave ovens could result in damage to the surface as well as the interior components and protective layers of the microwave. Correct cleaning methods ensure the avoidance of avoidable malfunctions with the appliance.
- Avoid using strong chemicals
- Never use steel wool
- Avoid soaking touchpad
- Do not spray cleaner into the machine
- Never run a microwave without anything inside because of how a microwave oven works, the energy has nothing to absorb it and reflects back onto the magnetron, damaging it
- Do not neglect grease stains
- Do not overheat the cleaning solution
When to Call a Professional for Microwave Cleaning
A professional cleaning service for microwave ovens may be needed if there are pest problems, electrical issues, severe scorched marks, or internal damage to the oven. Persistent smoke, sparking, or burning smells are also the few cases where a microwave can genuinely become harmful to health, so don't delay repairs.
- The smell of burning persists
- Excessive accumulation of grease internally
- Presence of cockroaches in the microwave
- Frequent sparking of the microwave
- Damaged internal components
- Burnt/scorched marks on the oven
- Faulty heating functionality
Tip: Always trust a reliable service company that has expert technicians, for eg, NoBroker. At NoBroker, we have expert and trustworthy technicians who can solve any problem related to your appliance. We also offer 15 minutes instant microwave service with 180 days warrants on any part changed by us.
Pros and Cons of Cleaning a Microwave Yourself
DIY microwave cleaning is cost-effective and easy to manage, but incorrect cleaning practices can cause damage to sensitive surfaces and electronic parts.
| Pros | Cons |
| Saves cleaning costs | Can damage the touchpad |
| Convenient home cleaning | Requires regular effort |
| Natural cleaning options | Tough stains take time |
| Removes odors quickly | Risk of scratches |
| Easy maintenance | Deep cleaning feels tiring |
How to Keep Your Microwave Clean for Longer
Regular maintenance practices assist in preventing grease build-up, spillage, staining, bad odors, and keeping your microwave germ-free.
- Cover food when heating
- Wipe up spills right away
- Clean the microwave once a week
- Do not heat food for too long
- Use containers with the microwave-safe symbol, as non-safe plastics can melt and leave residue that is far harder to clean
- Clean out crumbs on a daily basis
- Keep your microwave dry
Final Thoughts
The knowledge of how one can clean their microwave is very crucial since this will ensure that the kitchen is hygienic, free from dirt and grease, and at the same time, it will increase the efficiency of the appliance. Whatever method one opts to use for cleaning a microwave, such as steam or using vinegar, lemon, or baking soda, will help in the prevention of stains and bad smells.
NoBroker Microwave Repair & Services Across Major Cities in India
Looking for microwave repair near you? NoBroker serves Bangalore, Chennai, Hyderabad, Delhi, Mumbai, Pune, Gurgaon, Noida, Ghaziabad, Greater Noida, and Faridabad, with quick, trusted doorstep assistance.
Brands Covered Under Our Microwave Repair Services
NoBroker handles microwave repair services across Samsung, LG, IFB, Whirlpool, Panasonic, Bosch, Haier, and more brands, covering solo, grill, and convection models with skilled technician support.
Frequently Asked Questions
1. What is the fastest way to clean a microwave?
2. What should I do if an egg explodes in the microwave?
3. How to clean the microwave touchpad?
4. Can I clean a microwave with just water?
5. How to clean a really dirty microwave oven?
6. How to clean microwave glass safely?
7. How to remove cockroaches from a microwave?
8. How to clean a stainless steel microwave?
9. How often should I deep clean a microwave?
10. Can baking soda remove microwave odors?

Login / Sign up
Zero Brokerage.
Thousands of new listings daily.
100 Cr+ Brokerage saved monthly.
About the Author

Siri Hegde K
Senior Editor
Siri loves reading and writing about anything and everything. A recent Culinary Arts graduate turned content writer, she finds the real estate ecosystem particularly intriguing and this is seen in her work....
Recent Blogs
Subscribe to our Newsletter
Get latest news delivered straight to your inbox