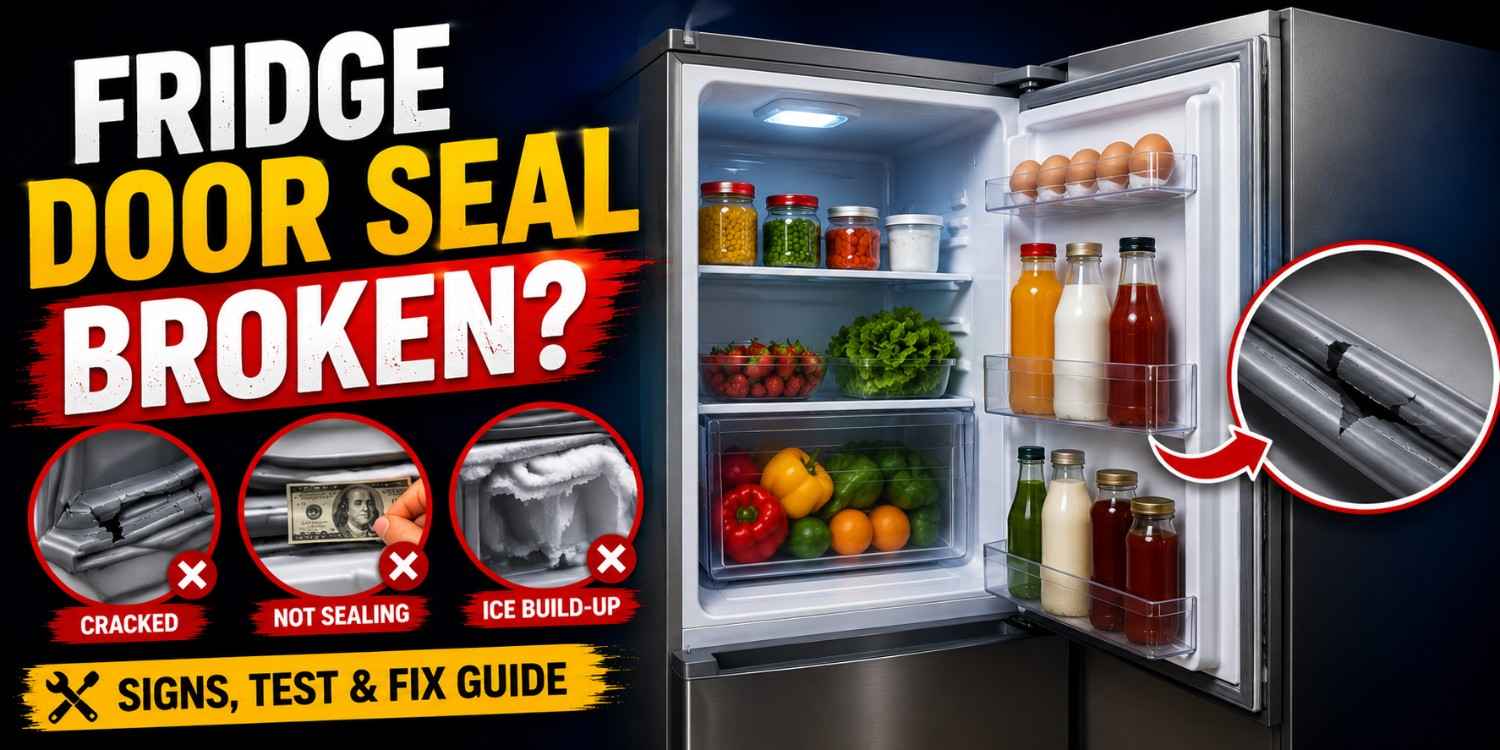
Fridge Door Seal Broken? Signs, Testing Methods, and Step-by-Step Replacement Guide
Appliance Tips & Guides
8 Views
Table of Contents
The refrigerator door gasket, also referred to as a seal, ensures that cool air stays in while preventing warm air from getting in. If you notice that the seal is not functioning properly due to damage, looseness, or cracking, your refrigerator will require additional effort to stay at its ideal temperature setting. Some of the effects include high energy bills, spoilage of food products, excessive humidity, and poor cooling capacity.
What Happens When a Fridge Door Seal Is Broken?
A faulty door gasket causes cold air to leak and warm air to flow into the refrigerator, impacting its cooling capacity and raising energy usage levels.
- The fridge keeps running non-stop but fails to achieve the targeted cooling level.
- Food rots at an accelerated pace.
- Condensation develops inside the fridge.
- Ice forms in the freezer compartment.
- Unexpectedly high electricity costs occur.
Impacts of Damage to the Refrigerator Gasket
- Low cooling effectiveness.
- Extra load for the compressor.
- Excessive power consumption.
- Uneven cooling.
- Increased moisture inside the compartments.
- Accelerated deterioration of refrigerator parts.
Common Signs of a Broken Fridge Seal
There are several observable signs and consequences related to a faulty refrigerator gasket, which may affect both the appliance’s effectiveness and its contents.
Gasket Cracks or Tears
Any cracks or tears in the refrigerator gasket enable air to flow out from the appliance, decreasing cooling effectiveness and making the appliance work extra hard.
Gaps Between the Door and Refrigerator Frame
Small openings between the door of your refrigerator and the appliance body stop the door from sealing effectively.
Difficult to Close the Refrigerator Door Properly
The inability to keep the refrigerator closed, even if it pops open by itself after being closed, shows that there is something wrong with the gasket seal.
Moisture and Water Droplets on the Refrigerator Interior Walls
Any water droplets or moisture seen in the interior part of the fridge means that warm air is leaking in through the fridge door opening.
Ice Build-Up Inside the Freezer Compartment
A damaged freezer seal enables humid air to enter the freezer, making ice form inside.
Higher Electric Bill
A broken refrigerator seal forces the compressor to run longer, increasing electricity consumption and causing higher monthly energy bills.
Loosened or Warped Gasket Edges
Loosened, bent, or warped edges of the refrigerator gasket prevent proper sealing of the appliance door.
Main Causes of Refrigerator Seal Damage
Several environmental and usage-related factors can weaken refrigerator door seals over time, causing them to lose flexibility and effectiveness.
Aging of Rubber Components
Gradual aging results in loss of the ability to form a good seal due to stiffness and cracking of the components.
Opening/Closing of the Refrigerator Door Frequently
Opening and closing operations exert pressure on the gasket, resulting in gradual deterioration, loosening, and decreased effectiveness of the seal.
Accumulation of Dirt and Grease
Food particles, dirt, and grease on the gasket reduce the effectiveness of the refrigerator seal, resulting in heat losses through the door.
Heat and Sunlight Exposure
Sunlight and heat exposure result in drying of the gasket material, which leads to its deformation and inability to maintain a seal around the door.
Poor Maintenance and Cleaning
Inadequate cleaning and maintenance of the gasket may cause damage to it, leading to mold formation and poor refrigerator performance.
How to Test If Your Refrigerator Seal Is Broken
A few simple tests conducted at home will help to detect damage to the seals of the appliance before they cause more serious trouble or make the fridge consume more energy.
1. Currency Note Test
Fold a ₹10, ₹20, or ₹50 note and slip it into the space between the fridge door and its frame. Make sure that the door is closed tightly and carefully remove the paper. If there is no resistance and the paper pulls smoothly, this might mean that the gasket of the door does not create an adequate seal on your refrigerator. Try this test at various locations along the edge of the door.
2. Torch Light Test
Place the torch or mobile torch inside the refrigerator and shut the door. Switch off all the lights in the room and check the edges of the door. The presence of light through any part of the seal means that there are possible gaps for warm air entry.
3. Condensation Test
Examine the presence of moisture and condensation around the edges of the door and inside the refrigerator. High levels of condensation indicate an entry point where warm air might be coming in due to a faulty seal.
4. Frost Build-up Test
Examine for any abnormal amounts of ice or frost on the freezer side of the appliance, especially around the area of the door. Frost formation is common when the gasket of the freezer is faulty.
5. Hand Test for Air Leaks
Perform the test by touching the sides of the closed door of the refrigerator with your hands. If you notice cold air escaping from the sides, it indicates a leaky seal.
6. Visual Inspection Test
Inspect the gasket carefully to check for any signs of cracking, tearing, brittleness, mold growth, soft corners, and warping. Such problems may impact the integrity of the seal.
Can You Fix a Broken Fridge Seal?
Small issues with gaskets may often be corrected at home, whereas major issues like cracks, tears, and deformations typically mean a total replacement.
1. Gasket Cleaning Process
It is important to remove any dirt, dust, molds, and food particles that may be caked on the rubber part of your fridge door as they make the seal tight to allow effective cooling.
Supplies Needed
- Mild detergent
- Warm water
- Microfiber cloth
- Soft-bristle brush
Steps
- Prepare the mixture of mild detergent and warm water.
- Soak the microfiber cloth in the water.
- Thoroughly clean the gasket.
- Apply the brush to the difficult-to-reach areas.
- Dry the gasket completely.
2. Fixing Warped Gasket Sections
Any minor warping of the gasket may be solved with the use of heat application so that it can return to its original condition.
Supplies Needed
- Hair dryer
- Clean cloth
- Gloves
Steps
- Put the hair dryer on the lowest setting possible.
- Apply heat slowly to the gasket part that is warped.
- Pull and shape the gasket.
- Let it cool down naturally.
- See if the door shuts well.
3. Application of Petroleum Jelly to Improve Flexibility
The use of petroleum jelly can make the refrigerator gaskets more flexible and help ensure a good seal on the gasket.
Supplies Needed
- Petroleum jelly
- Soft cloth
- Clean towel
Steps
- Clean and dry the gasket.
- Apply a small amount of petroleum jelly.
- Apply it evenly on the dry parts of the gasket.
- Close the refrigerator door.
- Wait for a few hours before using it again.
4. Repositioning of Loose Parts of the Gasket
Loose sections of the gasket can create air gaps and thus lower the cooling effectiveness, but if the looseness is slight, it can be remedied by aligning the gasket properly.
Supplies Needed
- Screwdriver
- Clean cloth
- Flashlight
Steps
- Examine the gasket for any loose parts.
- If there are screw fasteners, tighten them.
- Press the loose parts firmly in place.
- Examine the gasket again.
5. Replacing a Severely Damaged Gasket
Severely cracked, torn, or hardened refrigerator gaskets usually require complete replacement to restore proper cooling efficiency and airtight sealing.
Supplies Needed
- New gasket
- Screwdriver
- Water
- Cloth
Steps
- Carefully remove the gasket.
- Clean the gasket opening.
- Insert the gasket properly.
- Make sure you put it in its correct place.
When You Need to Replace the Fridge Seal
However, there are times when gasket problems are too serious to be repaired. This is the time when you have to replace your gasket.
Signs Replacement Is Necessary
- The gasket has big cracks.
- The gasket is torn apart.
- The gasket is missing parts.
- Air leaks even after repair.
- The fridge door won't stay closed.
- The gasket is severely warped.
- The fridge is moist despite cleaning.
- Cooling problems continue to occur.
How Long Fridge Seals Usually Last
- The average lifespan of fridge seals is 5-10 years.
- Life expectancy depends on the frequency of use.
- Seal life can be prolonged by proper cleaning.
- Heat accelerates the deterioration of fridge seals.
- Door handling can cause wear.
How to Replace a Broken Refrigerator Seal
The process of replacing the fridge seal can be performed easily if done using the appropriate sealing material and the right procedures.
Tools and Materials Needed
- Refrigerator seal replacement gasket
- Screwdriver
- Warm water
- Clean cloth
- Hair dryer
- Measuring tape
- Gloves
Step-by-Step Replacement Process
Step 1: Removal of Old Sealing Material
- First, unplug the refrigerator.
- Ensure that the door of the refrigerator is fully open.
- Loosen the screws securing the seal in place.
- Take out the old sealing material.
- Clean the surface where the new material will be placed.
Step 2: Preparation of New Sealing Material
- Take out the new seal from its pack.
- Unfold it by laying it on a flat surface.
- Dip it in warm water to soften it.
- Compare its size with that of the old seal.
Step 3: Installation of the New Seal
- Fit the seal properly in place.
- Position it correctly into the groove.
- Secure it using screws, if available.
- Ensure that the corners fit well.
Step 4: Check the Fit
- Close the refrigerator door.
- Make sure there are no spaces left between.
- Do the currency note test.
- Make adjustments if required.
Step 5: Leave the Seal to Set
- Keep the door shut for some hours.
- Allow the seal to rest in place.
- Observe the fridge’s cooling performance over the following day.
Broken Freezer Seal vs Broken Fridge Seal
Although both seals are essentially doing the same thing, the problems and consequences of a damaged seal differ based on which part of the unit is affected.
| Feature | Fridge Seal Issue | Freezer Seal Issue |
| Temperature Impact | Reduced cooling | Increased freezing inefficiency |
| Moisture Problems | Condensation buildup | Frost and ice buildup |
| Energy Usage | Higher electricity consumption | Higher electricity consumption |
| Food Impact | Faster spoilage | Freezer burn risk |
| Compressor Load | Increased workload | Increased workload |
| Visible Signs | Water droplets | Thick ice accumulation |
| Repair Urgency | Moderate to high | High |
DIY Repair vs Professional Repair
The option to go DIY or call in professionals depends on the nature of the problem, as well as how comfortable you are maintaining home appliances.
When DIY Is Enough
- Warping of the gasket.
- Sealing trouble from dust.
- Slight loss in integrity.
- Sealing task.
- Maintenance.
- Conducting a gasket test.
When to Call a Technician
- Gasket damage.
- Trouble keeping cool.
- Misalignment of doors.
- Multiple unsuccessful repairs.
- Unsure what parts to use.
- Problems with proper cooling even after replacing the gasket.
You should trust a reliable company like NoBroker for Refrigerator services. NoBroker offers speedy assistance for the repair of appliances with the assignment of a technician within 15 minutes of your appointment. The expert team at NoBroker will be able to examine the problem with the seal of your refrigerator doors, install replacement seals where necessary, and provide a warranty for relevant services.
Average Repair and Replacement Costs
The cost of repairing or replacing refrigerator door seals depends on the model, gasket type, labor cost, and whether you will go for DIY or Professional Service.
Basic cost ranges
- Gasket cleaning cost = ₹0 - ₹500
- Gasket repair cost = ₹300 - ₹1,000
- Gasket replacement cost = ₹800 - ₹3,500
- Gasket replacement cost (high-quality) = ₹2,000 - ₹6,000
- Inspection charge by technician = ₹200 - ₹800
Labor vs DIY comparison
- DIY is less expensive upfront.
- Professional repair makes installation mistakes unlikely.
- DIY involves selecting the right gasket.
- Labor varies according to location and type of refrigerator.
- Professional service comes with workmanship.
- Professional service providers like NoBroker provide a 180-day warranty on part replacements.
How to Prevent Fridge Seal Damage
Preventive maintenance will greatly extend the life of your gasket and ensure that your fridge stays cool for a long period. Keep your gasket clean, do not slam the fridge door, clean any spilled foods, check for any cracks, and do not put any heavy objects on the door.
- Gaskets should be cleaned every month.
- Remove any excess moisture from the seals.
- Monitor your seals' condition.
- Do not use harsh chemicals when cleaning.
- Make sure the door fits properly.
- Always close the doors gently.
- Check the corners regularly.
- Repair any damage immediately.
Best Practices for Maintaining Freezer Seals
Maintaining good condition in your freezer’s seal will keep your appliance free from frost, maintain its energy efficiency, and protect your frozen food from temperature variations.
- Maintain clean freezer gaskets.
- Eliminate frost accumulation quickly.
- Do not overload the freezer door.
- Look for gaps in your seal once a month.
- Ensure that there is no moisture on your gasket.
- Check for any cracks in the corners.
- Use mild cleaners when cleaning your freezer.
- Replace old seals before they wear out.
- Run sealing tests periodically.
- Set proper freezer temperature levels.
Cities We Cover for Refrigerator Repair Services
We offer reliable refrigerator repair services across Bangalore, Chennai, Hyderabad, Delhi, Mumbai, Noida, and several other cities. Our service includes 15-minute technician assistance, expert fault diagnosis, and hassle-free doorstep repairs for all major refrigerator issues.
Brands We Serve for Refrigerator Repair Services
From Samsung, LG, Whirlpool, and Godrej to Bosch, IFB, Haier, Panasonic, Hitachi, Siemens, and many more, NoBroker offers professional refrigerator repair services for a wide range of leading brands. Enjoy expert doorstep assistance, 100% genuine spare parts, and reliable repair solutions to keep your refrigerator running efficiently.
Frequently Asked Questions
1. Can I use my fridge if the seal is broken?
2. Is a broken fridge seal dangerous?
3. How much does it cost to replace a refrigerator gasket?
4. Can a broken freezer seal cause ice buildup?
5. How long does it take to replace a fridge seal?
6. Can I glue a refrigerator seal back together?
7. Why is my freezer door not sealing tightly?
8. How often should a refrigerator door seal be cleaned?
9. Can a bad fridge seal make your electric bills rise?
10. What is an easy way to test a refrigerator gasket?

Login / Sign up
Zero Brokerage.
Thousands of new listings daily.
100 Cr+ Brokerage saved monthly.
About the Author

Siri Hegde K
Senior Editor
Siri loves reading and writing about anything and everything. A recent Culinary Arts graduate turned content writer, she finds the real estate ecosystem particularly intriguing and this is seen in her work....
Recent Blogs
Subscribe to our Newsletter
Get latest news delivered straight to your inbox