How to Pack Kitchen Items for Moving - Step-by-Step Process
Packers and Movers Tips
6.3K Views
Table of Contents
Summary
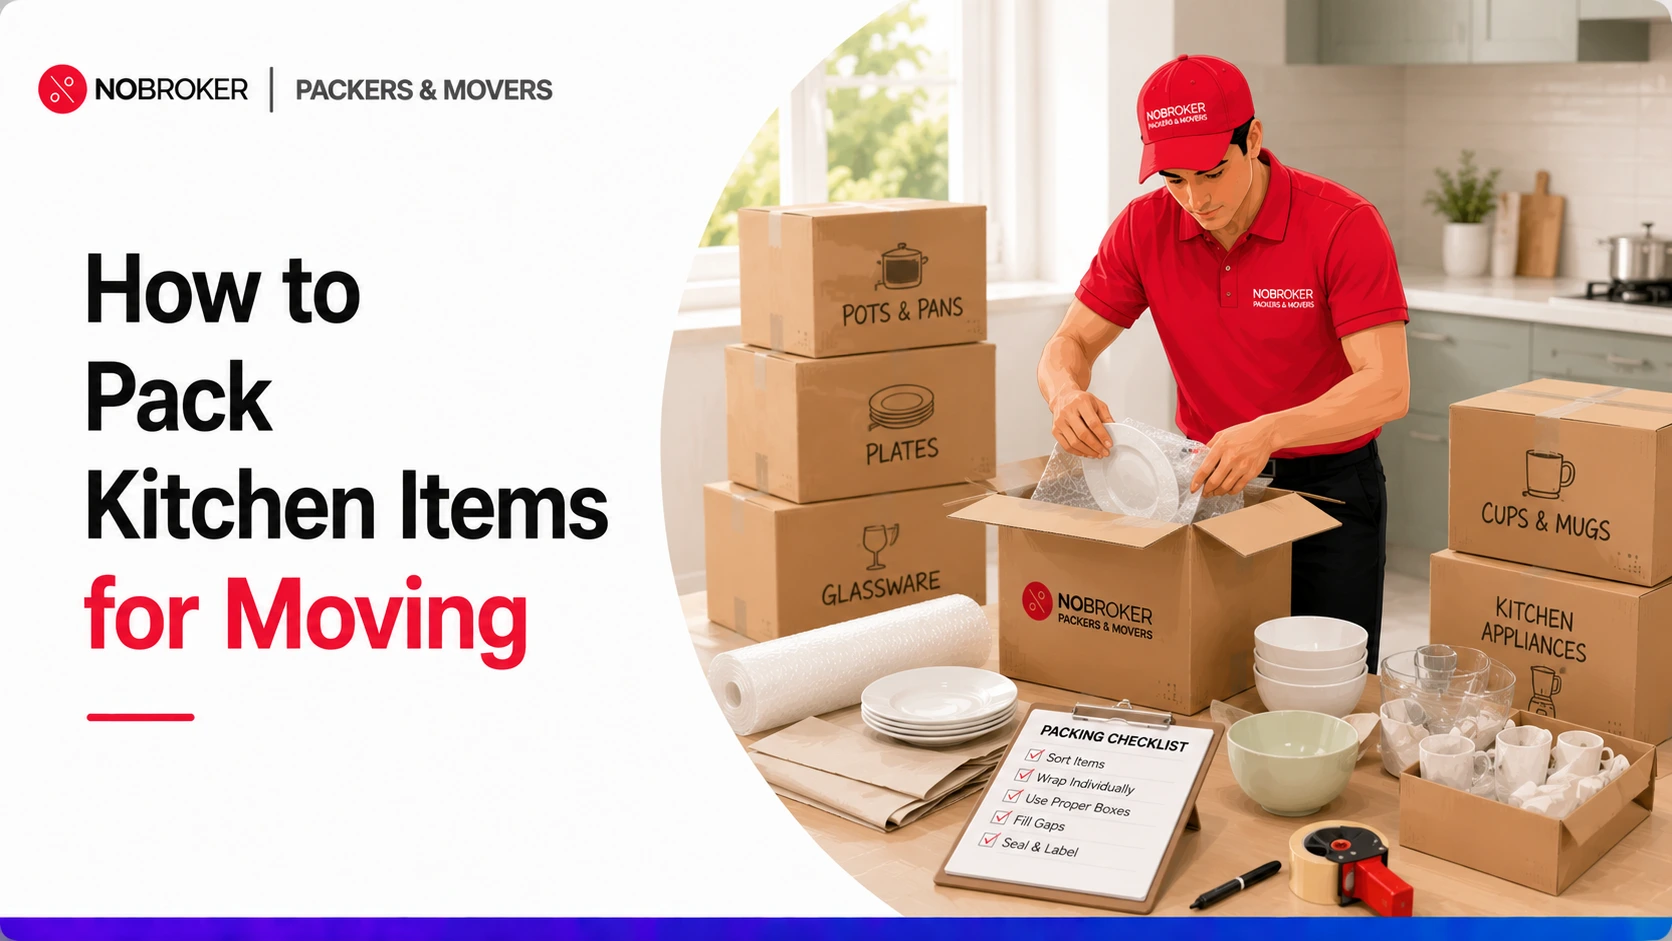
Knowing how to properly pack kitchen items for moving helps prevent damage and keeps unpacking organised. Wrap fragile items individually, pack plates vertically, stack cookware carefully, and fill empty spaces with cushioning materials. Since kitchens take longer to pack, starting 5–7 days before moving day gives enough time to organise everything safely and avoid last-minute stress.
Packing a kitchen is often one of the most stressful parts of moving because it involves fragile crockery, sharp tools, bulky appliances, and dozens of small essentials that are easy to damage or misplace. A single packing mistake can lead to broken items and unnecessary moving stress on the big day. Knowing how to pack kitchen items for moving can make the process easier, safer, and more organised. With the right kitchen packing tips and expert help from NoBroker, you can protect delicate kitchenware, pack efficiently, and ensure everything reaches your new home intact without the hassle of managing it all alone.
How to Pack Kitchen Items for Moving (Kitchen Packing Procedure)
Packing a kitchen becomes easier when you follow a proper step-by-step process. Organising items carefully helps prevent breakage, saves time, and ensures a smoother moving experience. Here’s a simple kitchen packing procedure to help you move efficiently and safely:
Recommended Reading

Shoes Packaging Ideas: Decluttering, Pac...
7.1K Views
Best Way to Pack a Mattress for Moving W...
6.1K Views

How to Pack Your TV For Moving Safely St...
6K Views
The Best Way to Wrap a Picture Frame: Co...
6K Views

How to Pack a Monitor for Moving Safely ...
5.9K Views
Step 1. Gather Essential Packaging Materials
Collect sturdy boxes, bubble wrap, packing paper, tape, labels, zip-lock bags, and markers before packing. Proper materials help protect kitchen items during shifting.
Step 2. Declutter Before You Pack: Simplify Your Kitchen Move
Remove expired food, broken utensils, unused containers, and unwanted appliances. Decluttering reduces packing load, saves moving space, and makes unpacking easier.
Step 3. Prioritise Packing Less-Used Items
Start packing seasonal cookware, extra utensils, baking tools, and rarely used appliances first. This keeps daily kitchen activities running smoothly until moving day.
Step 4. Prepare an 'Essentials' Box for Immediate Needs
Pack daily essentials like plates, mugs, snacks, medicines, tea, chargers, and basic cooking tools separately. Keep this box easily accessible after reaching your destination.
Step 5. Evaluate Cost-Benefit for Packing vs Discarding Items
Check old appliances, damaged utensils, or low-value items before packing. Discarding or donating unnecessary items can significantly reduce transportation costs.
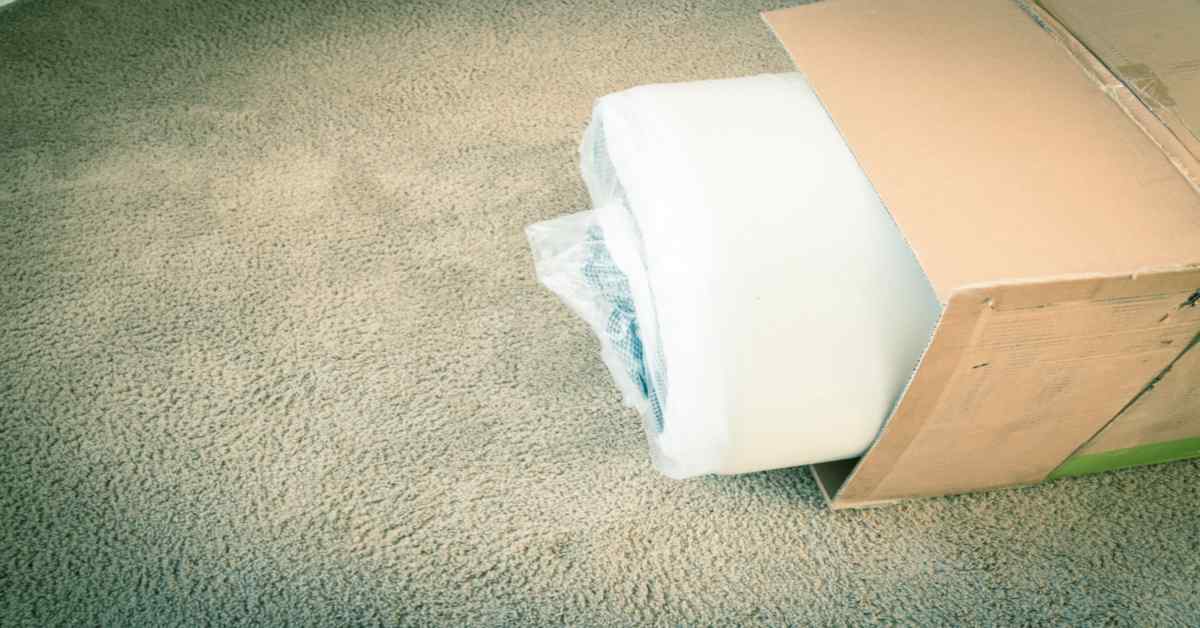
Step 6. Glass and Porcelain: The Final Packing Phase
Wrap glasses, plates, and porcelain items individually using bubble wrap or paper. Pack them carefully in sturdy boxes and label them as fragile.
Step 7. Packing Perishables: Spices and Canned Goods
Seal spices, oils, and open food items tightly to prevent leakage. Pack canned goods separately and avoid carrying expired or easily spoiled products.
Step 8. Preparing Large Appliances for Safe Transport
Clean refrigerators, ovens, and microwaves before moving. Disconnect appliances properly, secure loose parts with tape, and use protective covers to prevent damage
How to Pack Kitchen Items for Moving?
Use the right packing materials and methods to protect kitchen items during transit. The table below highlights essential items, kitchen packing supplies, and tips for a safe move:
| Kitchen Item | Packing Materials | How to Pack | Packing Tips |
| Plates & Bowls | Packing paper, bubble wrap, sturdy box, dividers | Wrap each item individually and place vertically in a box | Fill empty spaces to prevent shifting |
| Glasses & Mugs | Bubble wrap, packing paper, compartment box | Wrap the pieces separately and place them in divided boxes | Stuff the inside with paper for extra protection |
| Pots & Pans | Packing paper, bubble wrap, sturdy box | Stack similar sizes with paper between each item | Pack lids separately or secure them properly |
| Cutlery & Utensils | Packing paper, zip bags, small boxes | Bundle similar items together and wrap securely | Keep sharp utensils separate for safety |
| Knives | Knife guards/cardboard, bubble wrap, tape | Wrap each knife individually and secure properly | Label the box as “Sharp” |
| Small Appliances | Original box/cardboard box, bubble wrap, tape | Clean, dry, and pack with detachable parts separately | Wrap cords and secure loose parts |
| Food Containers | Packing paper, rubber bands, sturdy box | Nest containers together and pack lids separately | Secure loose lids to avoid scattering |
| Spices & Condiments | Zip bags, bubble wrap, small box | Seal lids tightly and pack upright | Use leak-proof bags to prevent spills |
| Pantry Items | Small boxes, zip bags, containers | Group dry goods and pack in sealed containers | Discard expired items before packing |
| Fragile Serveware | Bubble wrap, packing paper, padded box | Wrap each piece individually and pack carefully | Mark the box as “Fragile” |
| Cleaning Supplies | Leak-proof bags, tape, plastic bins | Seal bottles tightly and pack separately | Keep away from food items |
| Refrigerator Items | Coolers, ice packs, sealed containers | Pack perishables in coolers for transport | Consume or discard perishables before moving |
Explore our complete moving checklist to simplify every step before and after relocation - Read now!
How to Pack Various Kitchen Appliances for Moving
Kitchen appliances require proper packing to prevent scratches, dents, loose parts, and internal damage during relocation. Here is a complete step-by-step kitchen relocation guide to understanding how to pack kitchen appliances for moving:
How To Pack A Microwave For Moving?
Microwaves contain fragile components and glass parts. Let us see the step-by-step process to clean, secure, and pack them safely for moving:
- Step 1: Clean the microwave thoroughly and let it dry completely.
- Step 2: Unplug the microwave and secure the power cord with a tie or tape.
- Step 3: Remove the glass turntable, then wrap it separately in bubble wrap.
- Step 4: Secure the microwave door with packing tape or stretch wrap.
- Step 5: Wrap the microwave body with bubble wrap or a moving blanket.
- Step 6: Place it in its original box or a sturdy moving box with padding at the bottom.
- Step 7: Fill empty spaces with cushioning material.
- Step 8: Seal and label the box as fragile.
How to Pack Cookware for Moving?
Cookware can get dented or scratched during shifting. Here is the step-by-step process to stack, cushion, and pack cookware safely for relocation:
- Step 1: Clean and dry all pots, pans, lids, and bakeware before packing.
- Step 2: Stack the cookware by size, placing packing paper between each item.
- Step 3: Wrap glass lids separately with bubble wrap.
- Step 4: Secure loose or removable handles if needed.
- Step 5: Place heavier cookware at the bottom of a sturdy box.
- Step 6: Fill gaps with towels, packing paper, or bubble wrap.
- Step 7: Seal and label the box properly.
Packing Large Kitchen Appliances for Moving?
Large kitchen appliances like refrigerators, washing machines, dishwashers, microwaves, and ovens are bulky and difficult to handle. Here is the step-by-step process to prepare, secure, and move them safely:
- Step 1: Clean and dry the appliance thoroughly before packing.
- Step 2: Unplug the appliance and secure the cord safely.
- Step 3: Defrost and dry refrigerators or freezers in advance if needed.
- Step 4: Remove detachable parts like shelves, racks, trays, and drawers.
- Step 5: Wrap removable parts separately and label them.
- Step 6: Secure doors, lids, and movable parts with tape or straps.
- Step 7: Wrap the appliance with moving blankets and protective padding.
- Step 8: Use a dolly or appliance trolley to move it safely.
- Step 9: Keep the appliance upright and secure during transport.
How to Pack Small Appliances for Moving?
Small kitchen appliances like mixers, blenders, toasters, coffee makers, air fryers, and electric kettles contain delicate parts and accessories. Let us see the step-by-step process to wrap, secure, and pack them safely:
- Step 1: Clean and dry appliances like mixers, blenders, coffee makers, and toasters.
- Step 2: Unplug the appliance and wrap the cord neatly with ties or tape.
- Step 3: Remove detachable parts such as jars, blades, trays, or attachments and wrap them.
- Step 4: Secure movable parts and lids with tape or stretch wrap.
- Step 5: Wrap the appliance with bubble wrap or packing paper.
- Step 6: Pack it in its original box or a sturdy box with cushioning at the bottom.
- Step 7: Fill empty spaces to prevent movement inside the box.
- Step 8: Seal and label the box properly.
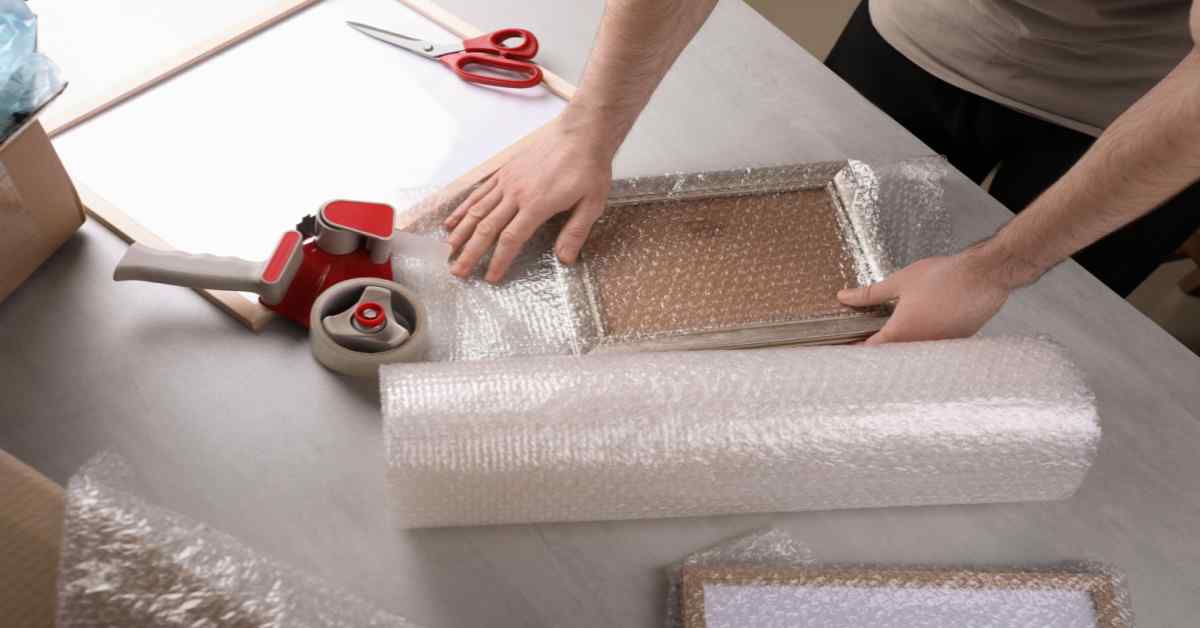
How to Pack Fragile Kitchen Items?
Fragile kitchen items require extra care during packing to prevent cracks, chips, and breakage during transportation. Here are simple ways to pack fragile items safely for moving:
How to Pack Glassware?
Wrap each glass individually with packing paper or bubble wrap. Place them upright in sturdy boxes and fill any empty spaces with cushioning material to prevent movement.
How to Pack Ceramic Plates and Bowls?
Stack plates vertically instead of flat to reduce pressure. Wrap every item separately and use dividers or towels between layers for extra protection.
How to Pack Cups and Mugs?
Stuff the inside of mugs with paper for added support. Wrap handles carefully and place heavier mugs at the bottom of the box.
How to Pack Kitchen Jars and Bottles?
Seal lids tightly and use plastic wrap to prevent leakage. Wrap each jar with bubble wrap and pack them upright inside padded boxes.
How to Pack Wine Glasses and Delicate Stemware?
Wrap stems separately with extra cushioning to avoid snapping. Use partition boxes and avoid placing heavy items near delicate stemware.
How to Pack Serving Dishes and Bakeware?
Use thick padding around corners and edges to prevent cracks. Pack heavier bakeware at the bottom and secure gaps with soft cushioning materials.
Learn safe electronics packing methods to protect devices from damage during relocation and transportation - Read now!
Kitchen Packing Timeline
The table below explains the ideal kitchen packing timeline, helping you to organise items efficiently and avoid last-minute stress while keeping essential cooking items accessible:
| Timeline Before Moving | What to Pack |
| 1–2 Weeks Before | Seasonal kitchenware, extra utensils, baking tools, speciality appliances, and rarely used items |
| 5–7 Days Before | Decorative kitchen items, spare containers, pantry stock, cookbooks, and additional cookware |
| 2–3 Days Before | Most plates, glasses, serving bowls, and small appliances are not needed daily |
| 1 Day Before | Daily-use cookware, cutlery, basic groceries, and meal prep essentials |
| Moving Day | Essential kitchen box with snacks, water bottles, disposable plates, a kettle, and basic cooking items |
Common Kitchen Packing Mistakes
Here are the most common kitchen packing mistakes to avoid for a safer, smoother, and more organised moving experience:
- Packing fragile kitchen items without proper wrapping
- Overloading boxes with heavy utensils and appliances
- Mixing sharp kitchen tools with delicate items
- Forgetting to label kitchen boxes properly
- Packing wet or greasy kitchen items
- Leaving pantry items unchecked before packing
- Using weak or damaged packing boxes
- Not sealing liquid containers tightly
- Packing essential kitchen items too early
- Ignoring extra cushioning for glassware and ceramics
Kitchen Packing and Stress Management
Packing your kitchen can feel overwhelming, but proper planning makes the process easier and more organised. As a first step to understand how to pack kitchen items for moving, creating a kitchen moving checklist is important. Then, packing in stages helps reduce last-minute stress and keeps everything manageable. Take short breaks, ask for help when needed, and focus on the excitement of setting up your new kitchen. Simple stress-management practices like deep breathing can also help during the move. If you still need professional support, NoBroker Packers and Movers can handle packing, transportation, and shifting efficiently, ensuring a smooth and hassle-free moving experience from start to finish.
Check Bangalore packers and movers charges to plan your relocation budget more accurately - Read on!
How NoBroker Packers and Movers Helps You Move Your Kitchen?
Moving kitchen appliances can be difficult because it involves safely packing fragile glassware, expensive appliances, heavy utensils, liquid containers, and delicate cookware. Improper handling may lead to breakage, spills, scratches, or the loss of essentials during the move.
At NoBroker Packers and Movers, we simplify kitchen relocation with professional packing and organised moving support. Our trained experts use high-quality packing materials like bubble wrap, sturdy cartons, foam sheets, and protective cushioning to safely pack fragile kitchen items, glassware, ceramic dishes, and appliances.
Our services also include 100% damage protection and delay protection for a safer and more reliable moving experience. With verified moving partners, affordable pricing, doorstep assistance, live tracking support, and end-to-end relocation solutions, we ensure your kitchen items are packed, transported, and delivered securely and hassle-free.
Frequently Asked Questions
1: How do you pack kitchen items for moving?
2: How many boxes are needed for a kitchen move?
3: How do movers pack fragile kitchen items?
4: How do you pack kitchen appliances safely?
5: Should plates be packed flat or upright?
About the Author

Sourabh
Senior Editor
Hi, I am a seasoned Civil Engineer with hands-on experience in construction and infrastructure. Besides that, I love to dedicate my time in reading and engaging in discussions related to packing, moving, and logistics sector....
Recent Blogs
Subscribe to our Newsletter
Get latest news delivered straight to your inbox