


Wire repair is more than just a technical task; it’s an essential skill in our increasingly connected world. Whether you’re dealing with a frayed charger cable or a damaged extension cord, understanding how to mend these lifelines can be incredibly empowering. This guide offers a step-by-step approach to wire repair, designed to equip you with the knowledge and confidence needed to tackle common wiring issues. By mastering these techniques, you can save money, prevent waste, and ensure the safe functioning of your electrical devices. So, let’s dive into the world of wire repair and turn this handy skill into an everyday superpower.
Things we covered for you
+
Step-by-Step Guide on How to Repair a Wire
Handling wire repairs yourself can be a rewarding experience. It not only saves money but also extends the lifespan of many household and electronic items. From a damaged phone charger to a worn-out extension lead, the ability to fix a wire is a useful skill. This comprehensive guide will walk you through the process step by step.

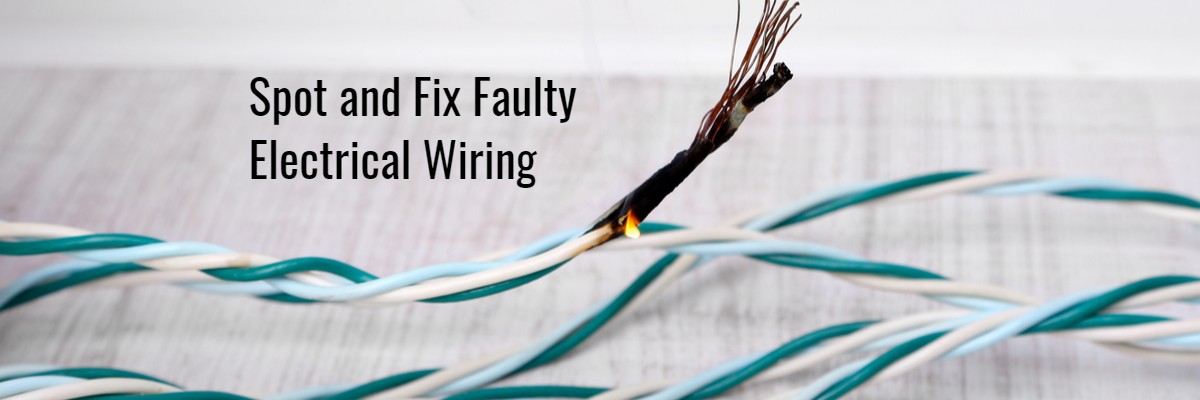
Step 1: Assessing the Damage
- Safety First: Always ensure the wire is unplugged from any power source. Safety cannot be overstated when dealing with electrical repairs.
- Inspect the Wire: Look over the wire carefully. Identify the type of damage – it could be a simple fray, a cut, or a section where the insulation is compromised, exposing the inner wires.
Step 2: Assembling Your Repair Kit
- Essential Tools: Gather wire strippers, a soldering iron and solder (for a more permanent fix), heat shrink tubing or electrical tape, and a pair of scissors or a sharp knife.
- Preparation: Clear a workspace and lay out your tools. Make sure the area is well-ventilated, especially if you plan to use a soldering iron.
Step 3: Stripping the Wire
- Removing Insulation: Using the wire strippers, carefully remove about an inch of insulation from either side of the damaged section. Be careful not to damage the wire strands.
- Clean Exposure: Ensure that the exposed wires are clean and free from any debris or oxidation. A clean wire will make for a better connection.
Step 4: Joining the Wires
- Twisting Wires: For a basic repair, twist the exposed strands of each end together firmly. Ensure the connection is tight and there are no loose strands.
- Soldering for Durability: If you’re using a soldering iron, heat the joint and apply solder until it flows over and covers the twisted wires. Let it cool and solidify.
Step 5: Insulating the Repair
- Using Heat Shrink Tubing: Slide the tubing over one end of the wire, then position it over the joint. Heat it evenly with a heat gun or lighter until it shrinks snugly around the wire.
- Alternative – Electrical Tape: If using electrical tape, wrap it tightly around the joint, overlapping the layers for a secure insulation.
Step 6: Testing the Repair
- Safety Check: Before plugging the wire back in, inspect the repair to ensure there are no exposed wires or loose connections.
Functionality Test: Plug the wire into a safe environment and test its functionality. Check for any signs of malfunction or overheating.
Read: Electrical Safety at Home: 10 Tips and Precautions


Book Best Packers & Movers with Best Price, Free Cancellation, Dedicated Move Manager

This is third

This is third
This is fourth
This is fourth
This is fifth
This is fifth
This is six
This is six
This is seven
This is seven
This is eight
This is eight
Read: Experience Top-Quality Samsung AC Services in Chennai With NoBroker
Mastering the basics of wire repair, particularly wiring harness repair, is not just about saving money, it’s about embracing a self-sufficient lifestyle. However, for those repairs that are beyond DIY, it’s crucial to rely on professionals. We strongly recommend opting for NoBroker’s electrical services for any wire or other electrical repairs. Choosing expert services ensures safety, efficiency, and peace of mind.

Q1. What are the essential tools needed for basic electrical wire repair?
Ans: For basic electrical wire repair, you’ll need wire strippers, electrical tape or heat shrink tubing, and, for more advanced repairs, a soldering iron with solder. These tools help ensure a safe and effective repair process.
Read: Wire Colour Code in India: Electrical Safety Simplified
Q2. What should I consider before attempting an electrical wiring repair at home?
Ans: Before undertaking an electrical wiring repair, it’s vital to assess your skill level and the complexity of the repair. For basic tasks, ensure you have the right tools and follow safety guidelines. For more complex repairs, seek professional assistance to ensure safety and reliability.
Q3. What is the typical cost to replace electrical wiring in a standard home?
Ans: The cost to replace electrical wiring varies greatly depending on factors like the size of the home, type of wiring used, and regional labour rates. Generally, homeowners can expect a range from a few thousand to several thousand dollars for a complete rewiring.
Q4. What should I consider before attempting an electrical cable repair at home?
Ans: Before attempting an electrical cable repair, it’s crucial to assess the extent of damage and ensure you have the right tools. Always prioritize safety by unplugging the cable and considering professional help for complex repairs.
Q5. How often should I inspect my house for home wiring repair needs?
Ans: Regular inspections are key in maintaining electrical safety. It’s recommended to check your home’s wiring every few years or immediately if you notice any signs of wear, to identify any potential home wiring repair requirements.